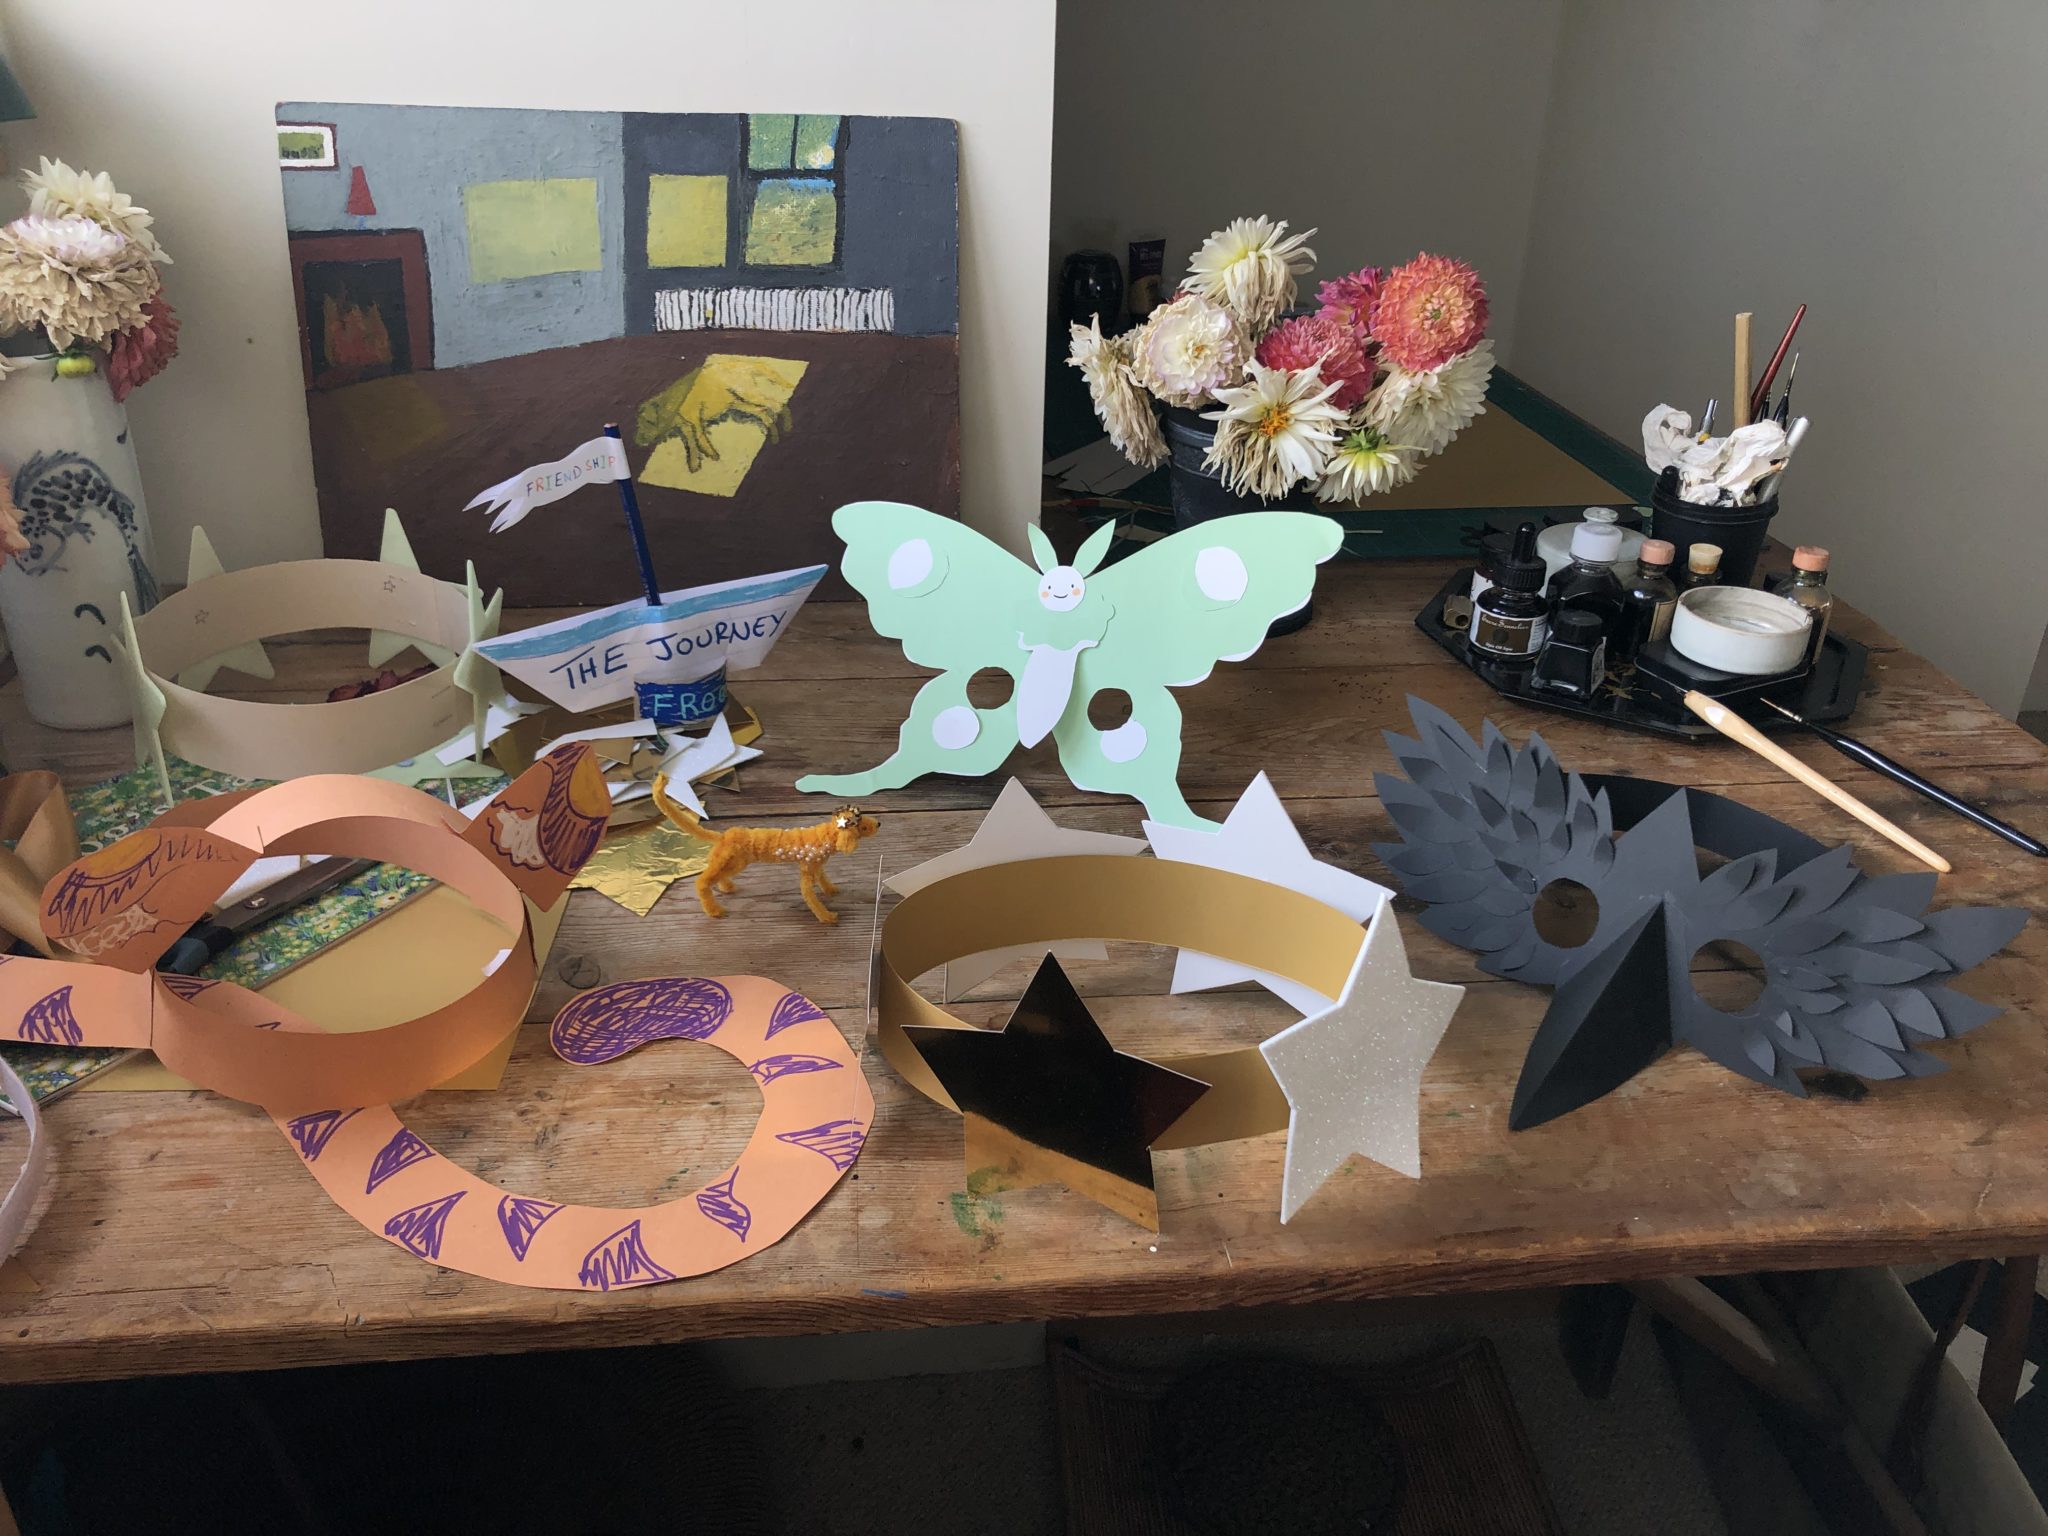
Grab some paper, a pair of scissors, a couple of glue sticks, and lots of glitter because E.K. Mosley has graciously designed a magical series of crafts that you can do at home in celebration of the release of ‘The Last Stardog’. Scroll all the way down to download your free craft templates! 🌟
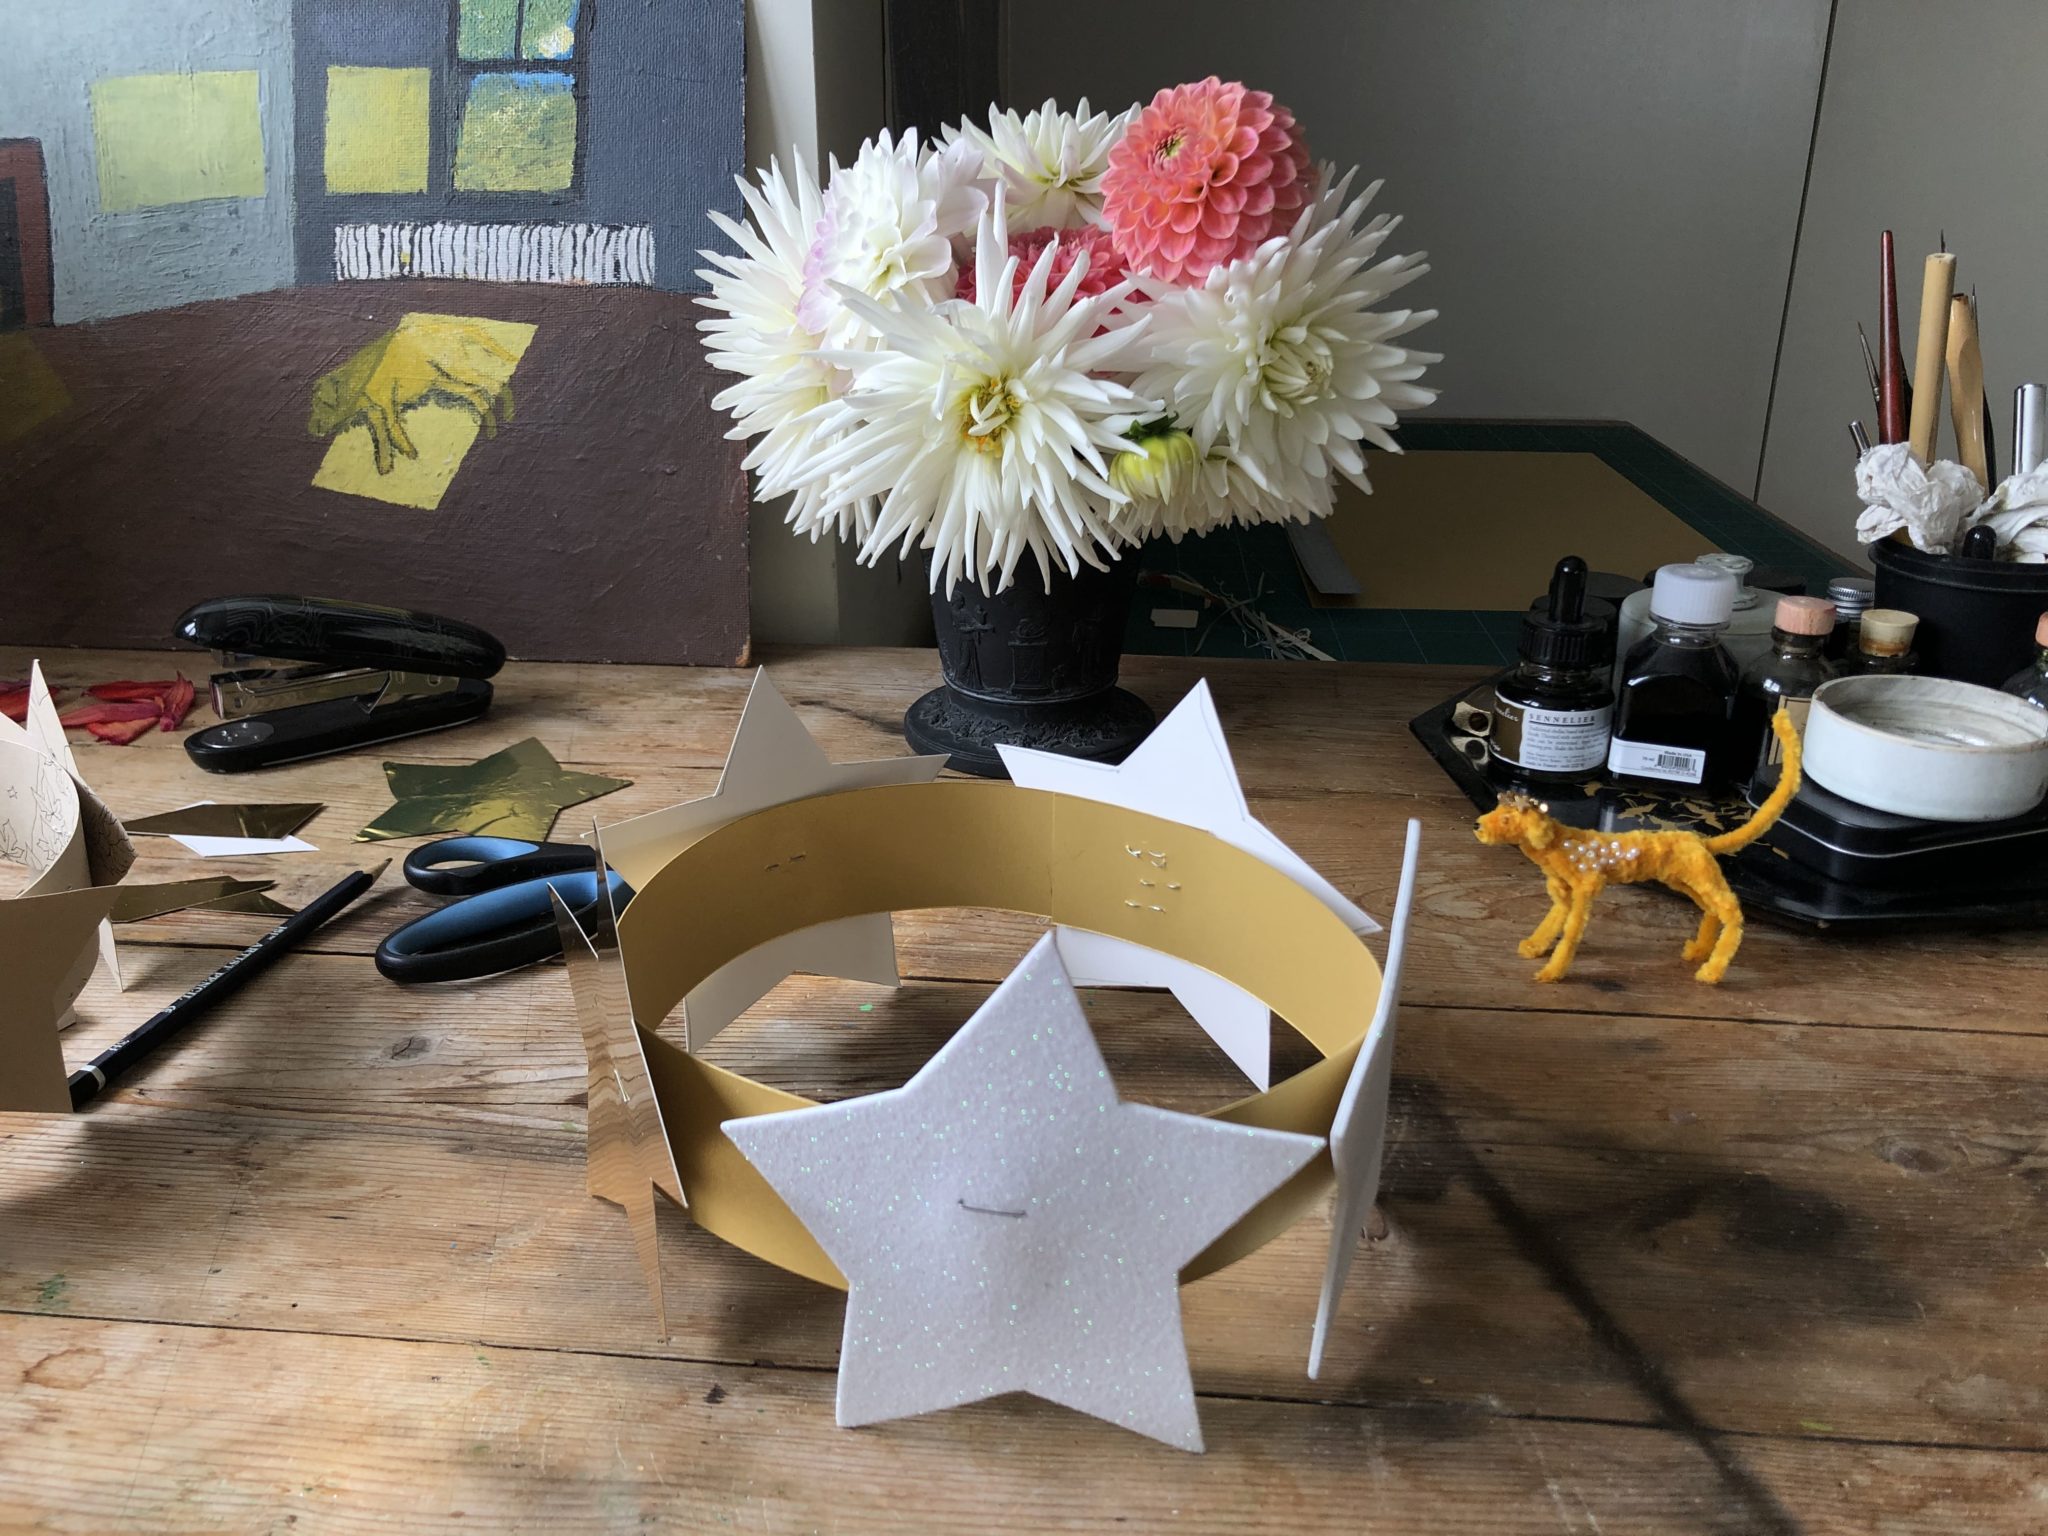
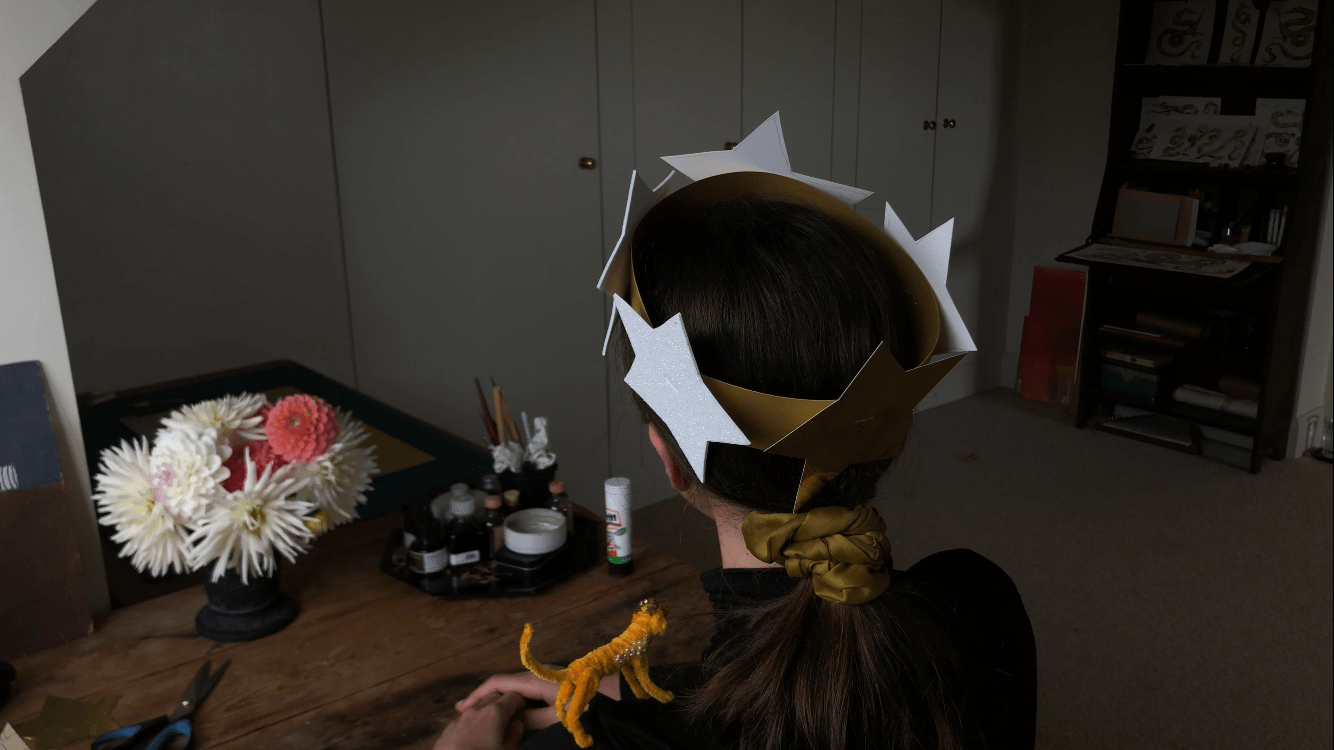
Stardog’s Star Crown

Materials:
- A4 Gold Card (or A3 if on hand)
- Pencil
- A4 white glitter foam or card (advanced: glow in the dark paper, paint or stars)
- Scissors
- Glue (advanced: Velcro tape so kids can change the stars from gold to glitter/glow in the dark stars like Stardog in the story)
- Stapler
Instructions
- On gold card measure two 4cm by 30cm strips then cut.
- Glue the two together to make one long strip (unless you have one long A3 42cm x 4cm strip)
- measure strip around head and mark with a pencil
- glue to correct size head band using the pencil mark you made to create a circlet
- place on head to make sure it is the right size
- then secure join with a stapler
- use template or freehand draw a large star onto the gold card.
- Cut out 3 – 5 gold stars
- Do the same on the white glitter paper )(or glow in the dark advanced options)
- To make Stardog’s crown at end of the book, stick on 3 gold stars and 2 glitter stars
- Once you’re happy with your crown, staple in place
- Advanced option, use Velcro tape to stick five evenly spaced pieces of soft loop side Velcro onto your gold headband circlet.
- Then place the rough hook Velcro onto all 5 gold stars and 5 white glitter stars.
- Then stick onto corresponding Velcro on crown.
- You’re done! Put your Star Crown on. Let out a Bark! Then Spark with light and laughter!
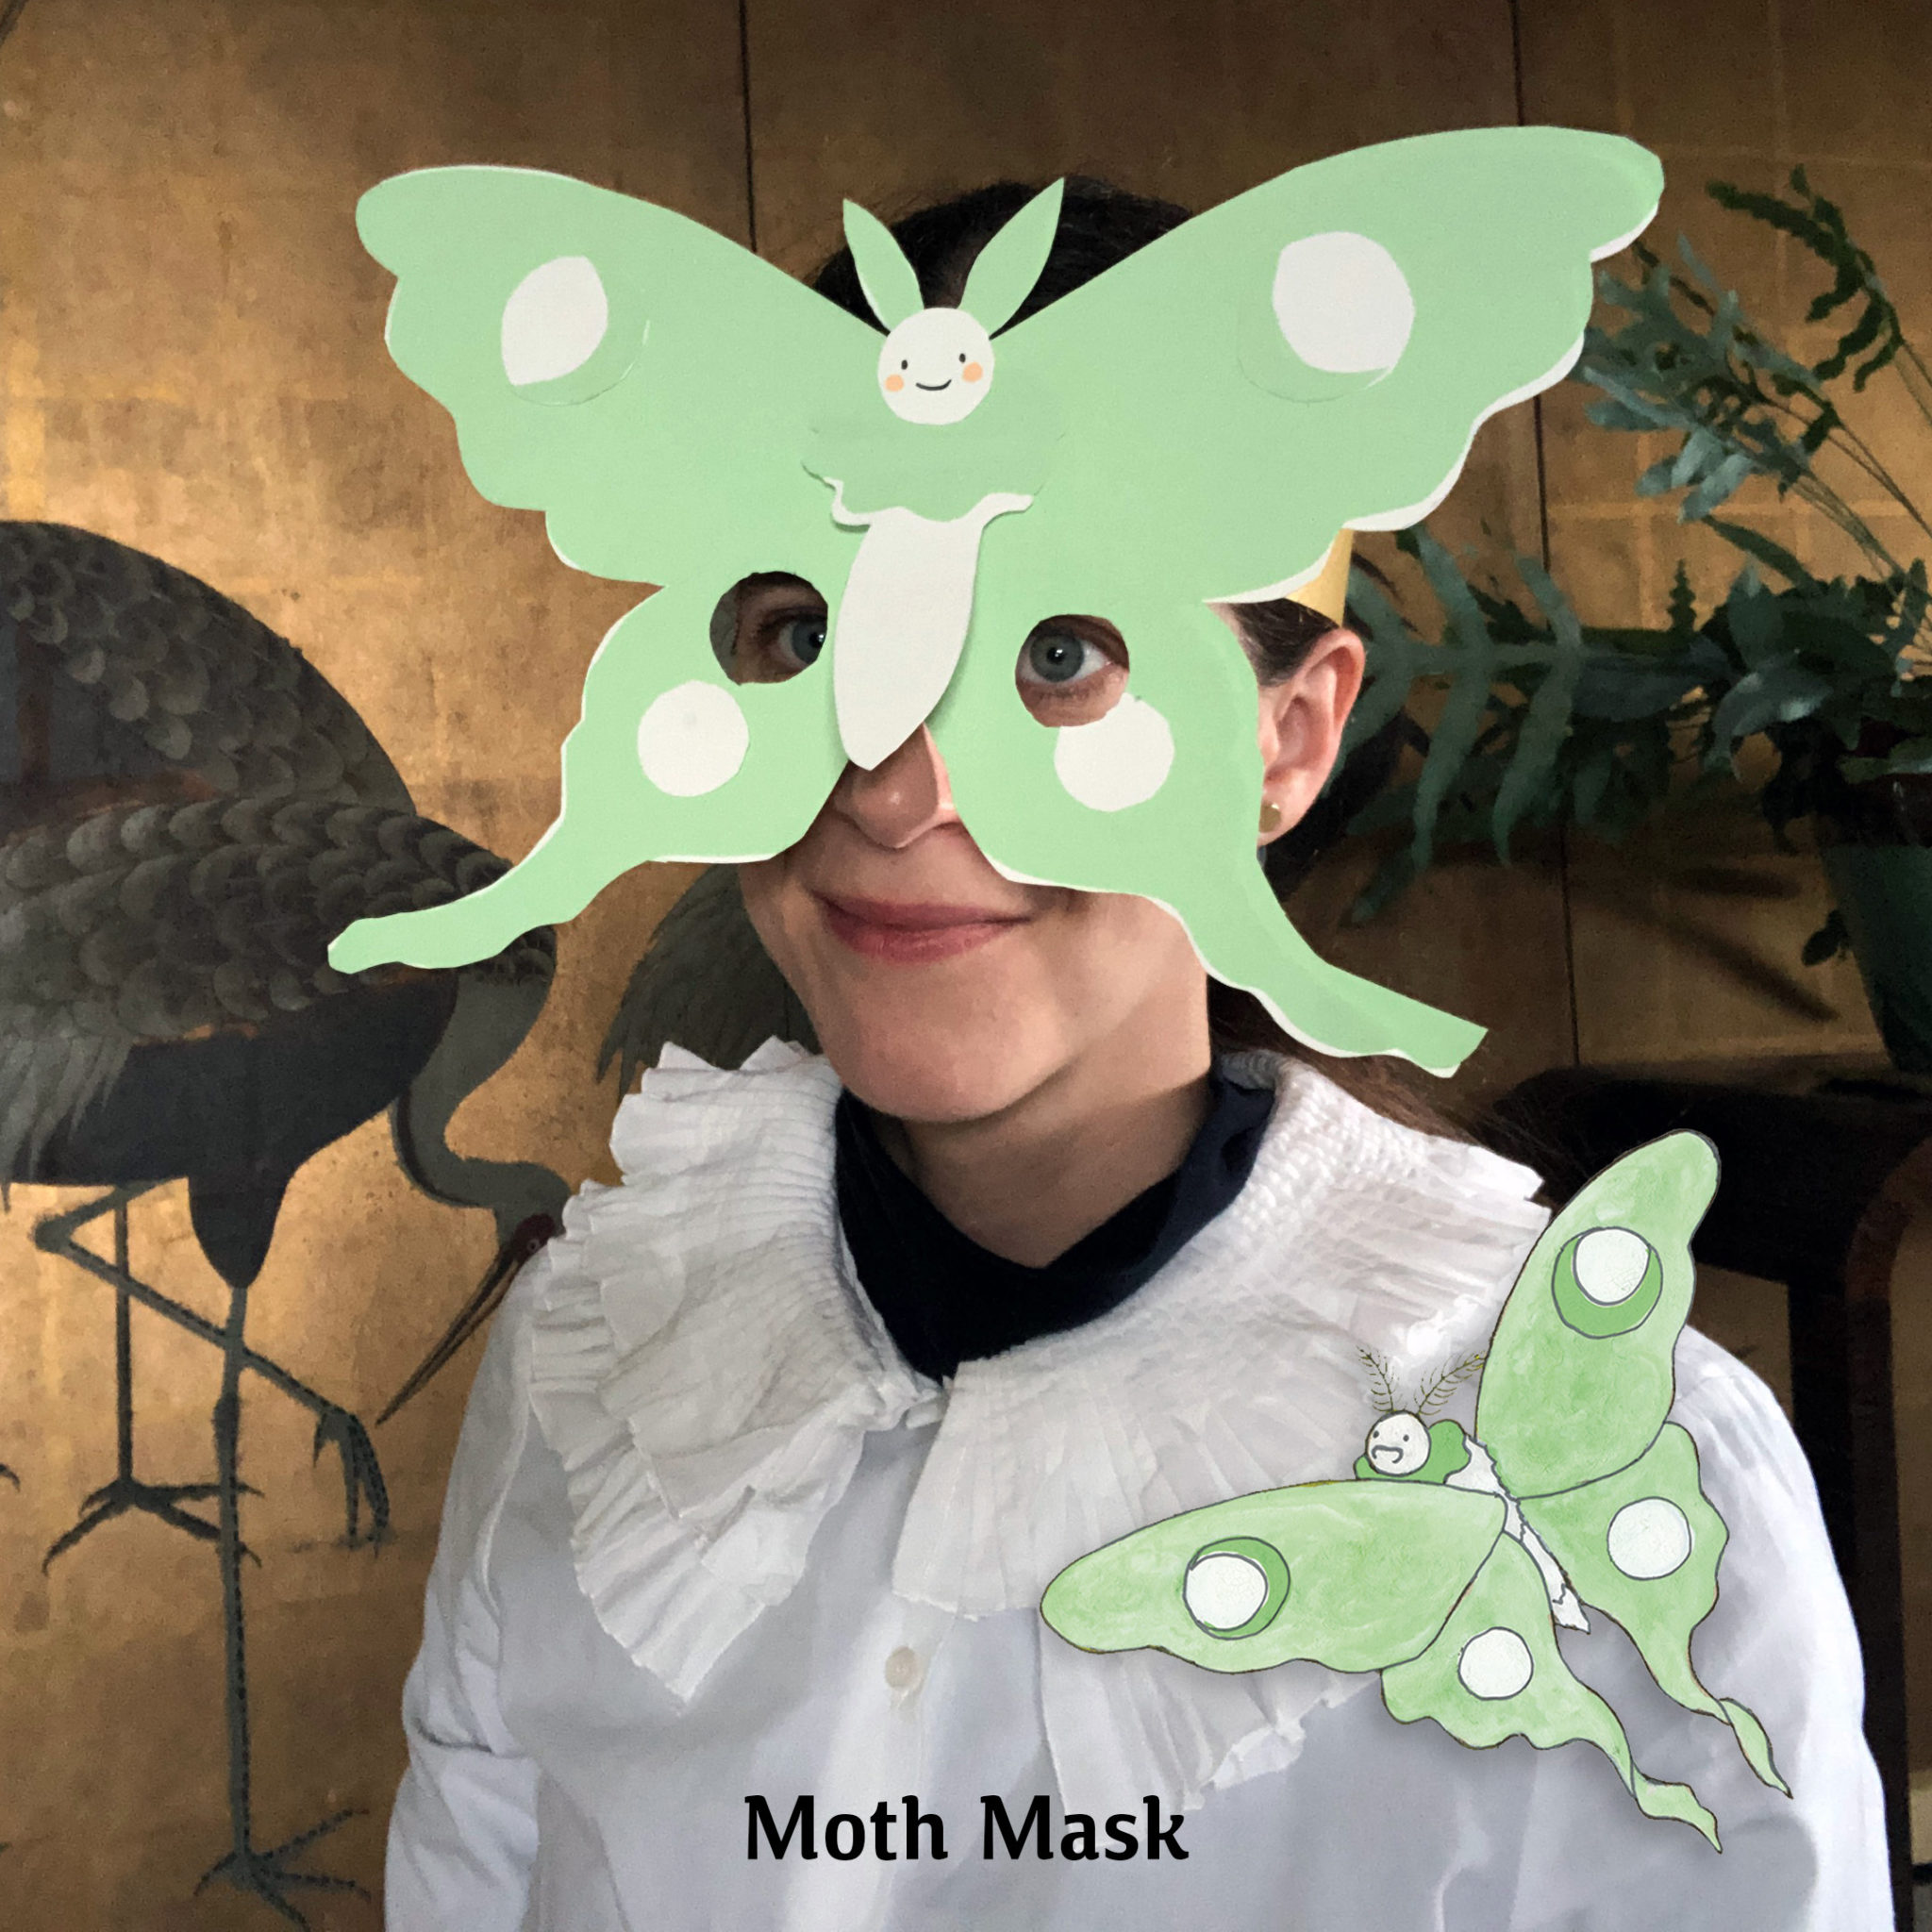
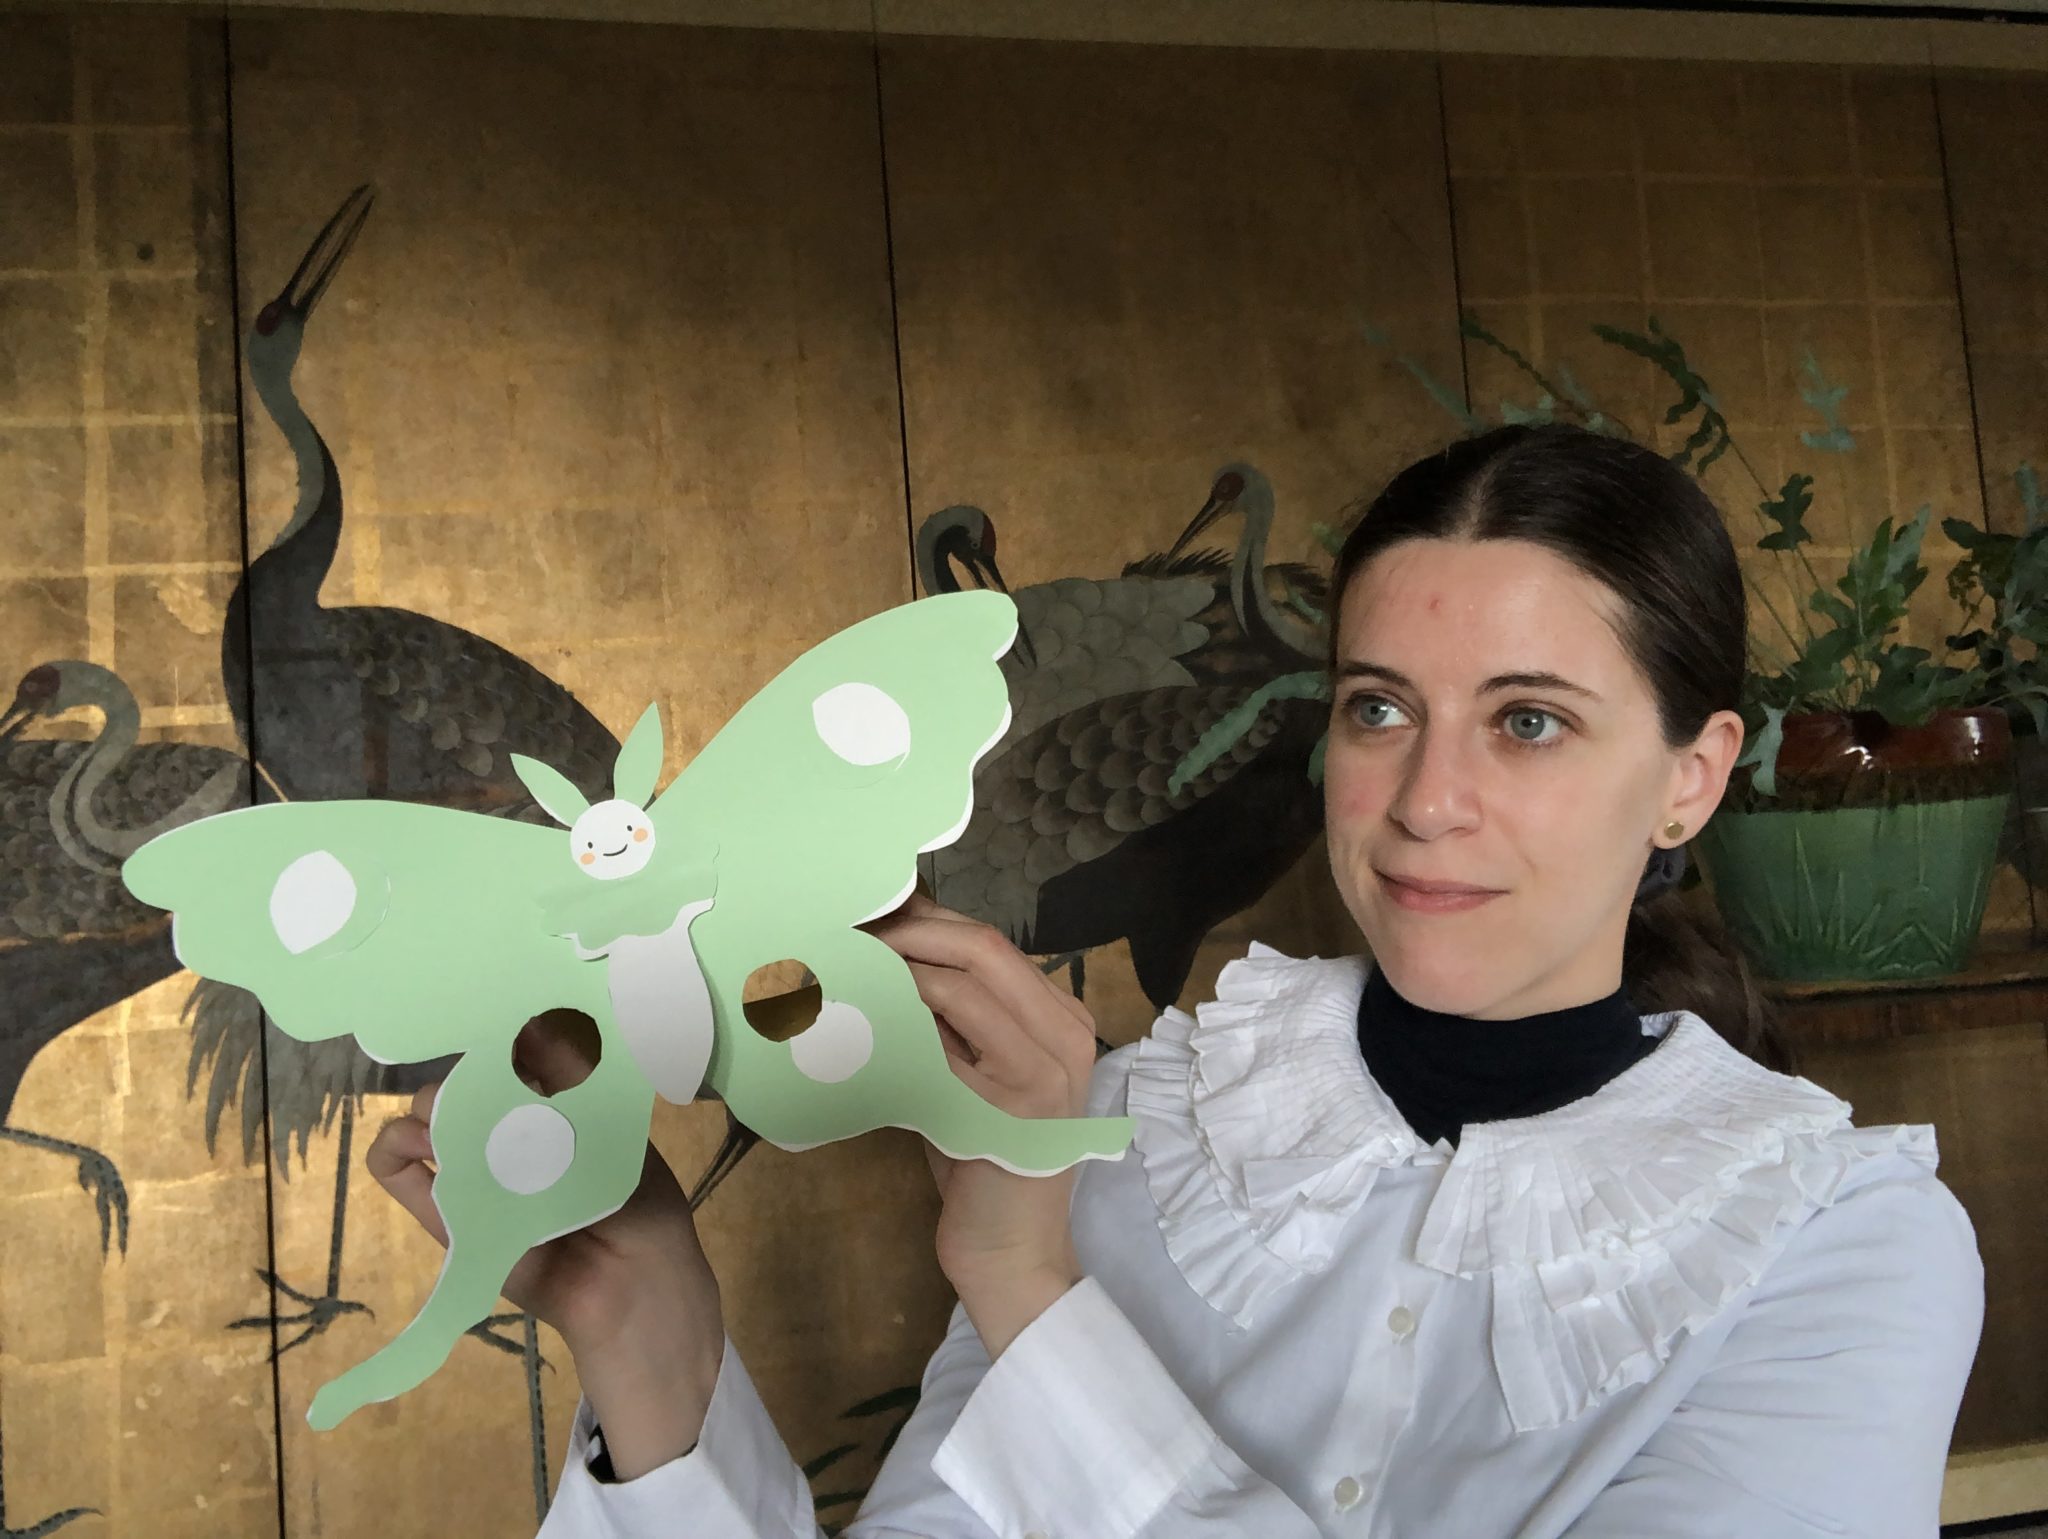
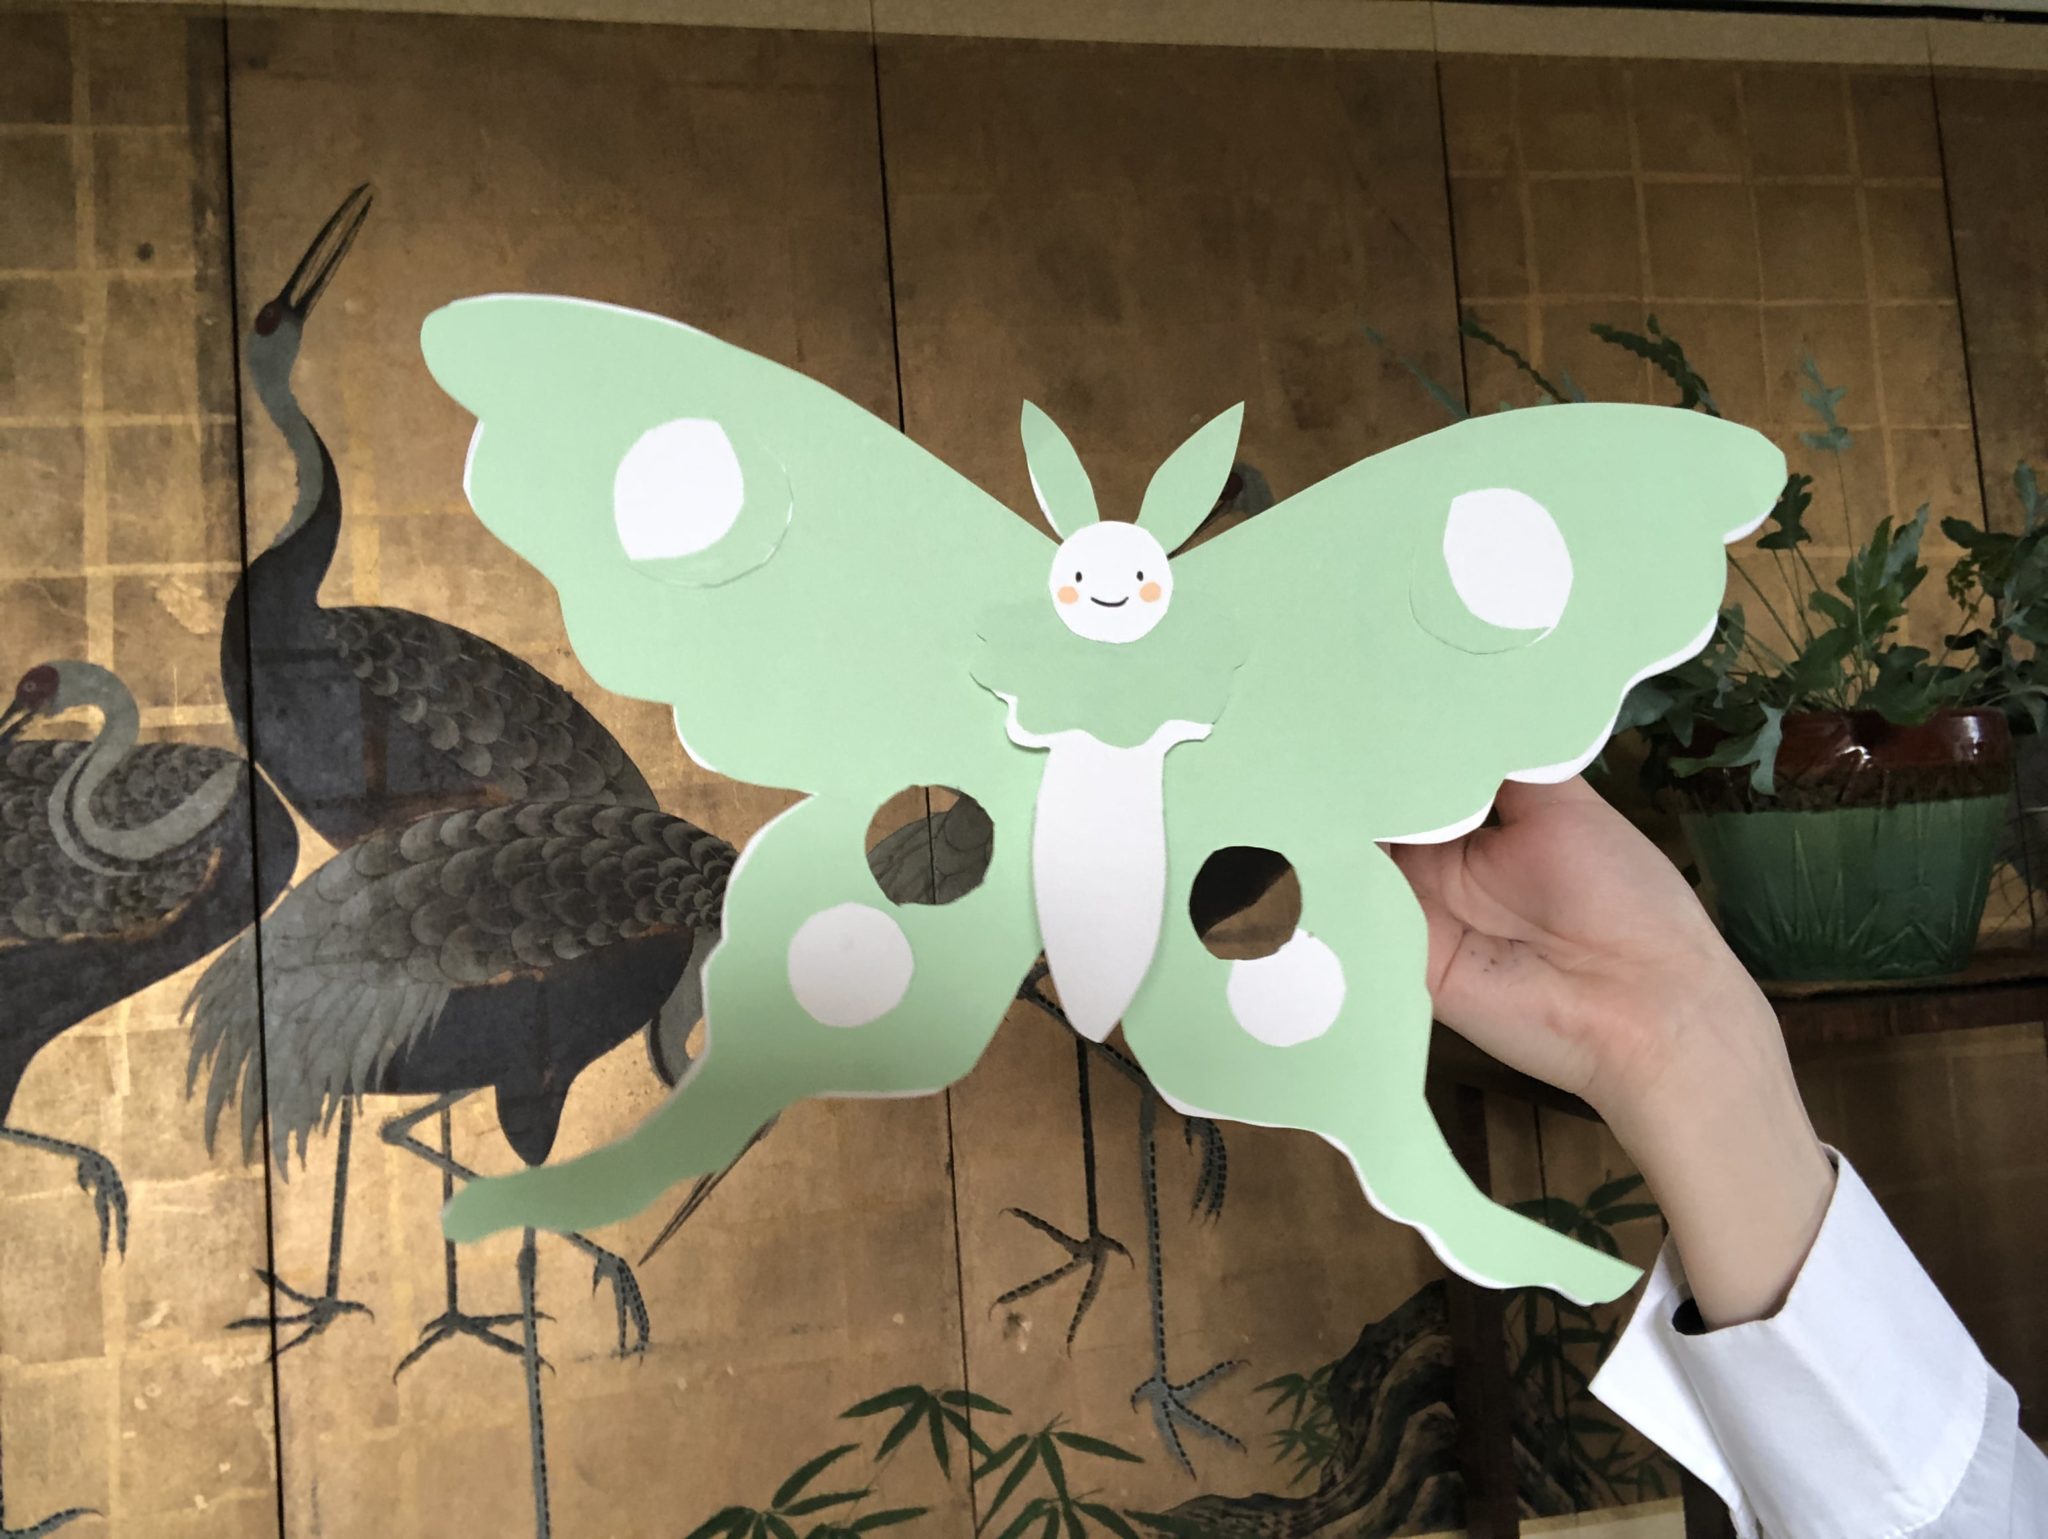
Moth Mask
Materials:
- A4 pale green card
- A4 white card
- Pencil
- Scissors
- Glue
- Stapler
Instructions
- Using the template provided, cut out stencils
- Use stencils to trace Moth wings, moon shapes and neck ruff shape onto pale green card (or print onto)
- Use stencils to trace moth body, and round circles onto white card (or print onto)
- Cut out Moth wings, moon shapes and neck ruff shape from pale green card
- Cut out holes for eyes as marked on the template
- Cut out Moth body, and round circles from white card
- Stick pale green ruff to moth body
- Stick small round circle onto ruff for Moth’s head
- Use pencil or marker to draw on Moth’s face.
- Stick crescent moons onto large cut out circles then place onto top moth wings
- Stick two remaining small circles on bottom wings under eye holes
- Stick on moth body gluing only the top half onto the wings
- Create headband circlet to fit around head (around 3- 4cm width) using A4 or A3 card
- Glue and staple the headband onto the back of your Moth mask, in centre above the eye holes, above the gap for your nose.
- You’re done! Put your mask on, flutter about and fly away!
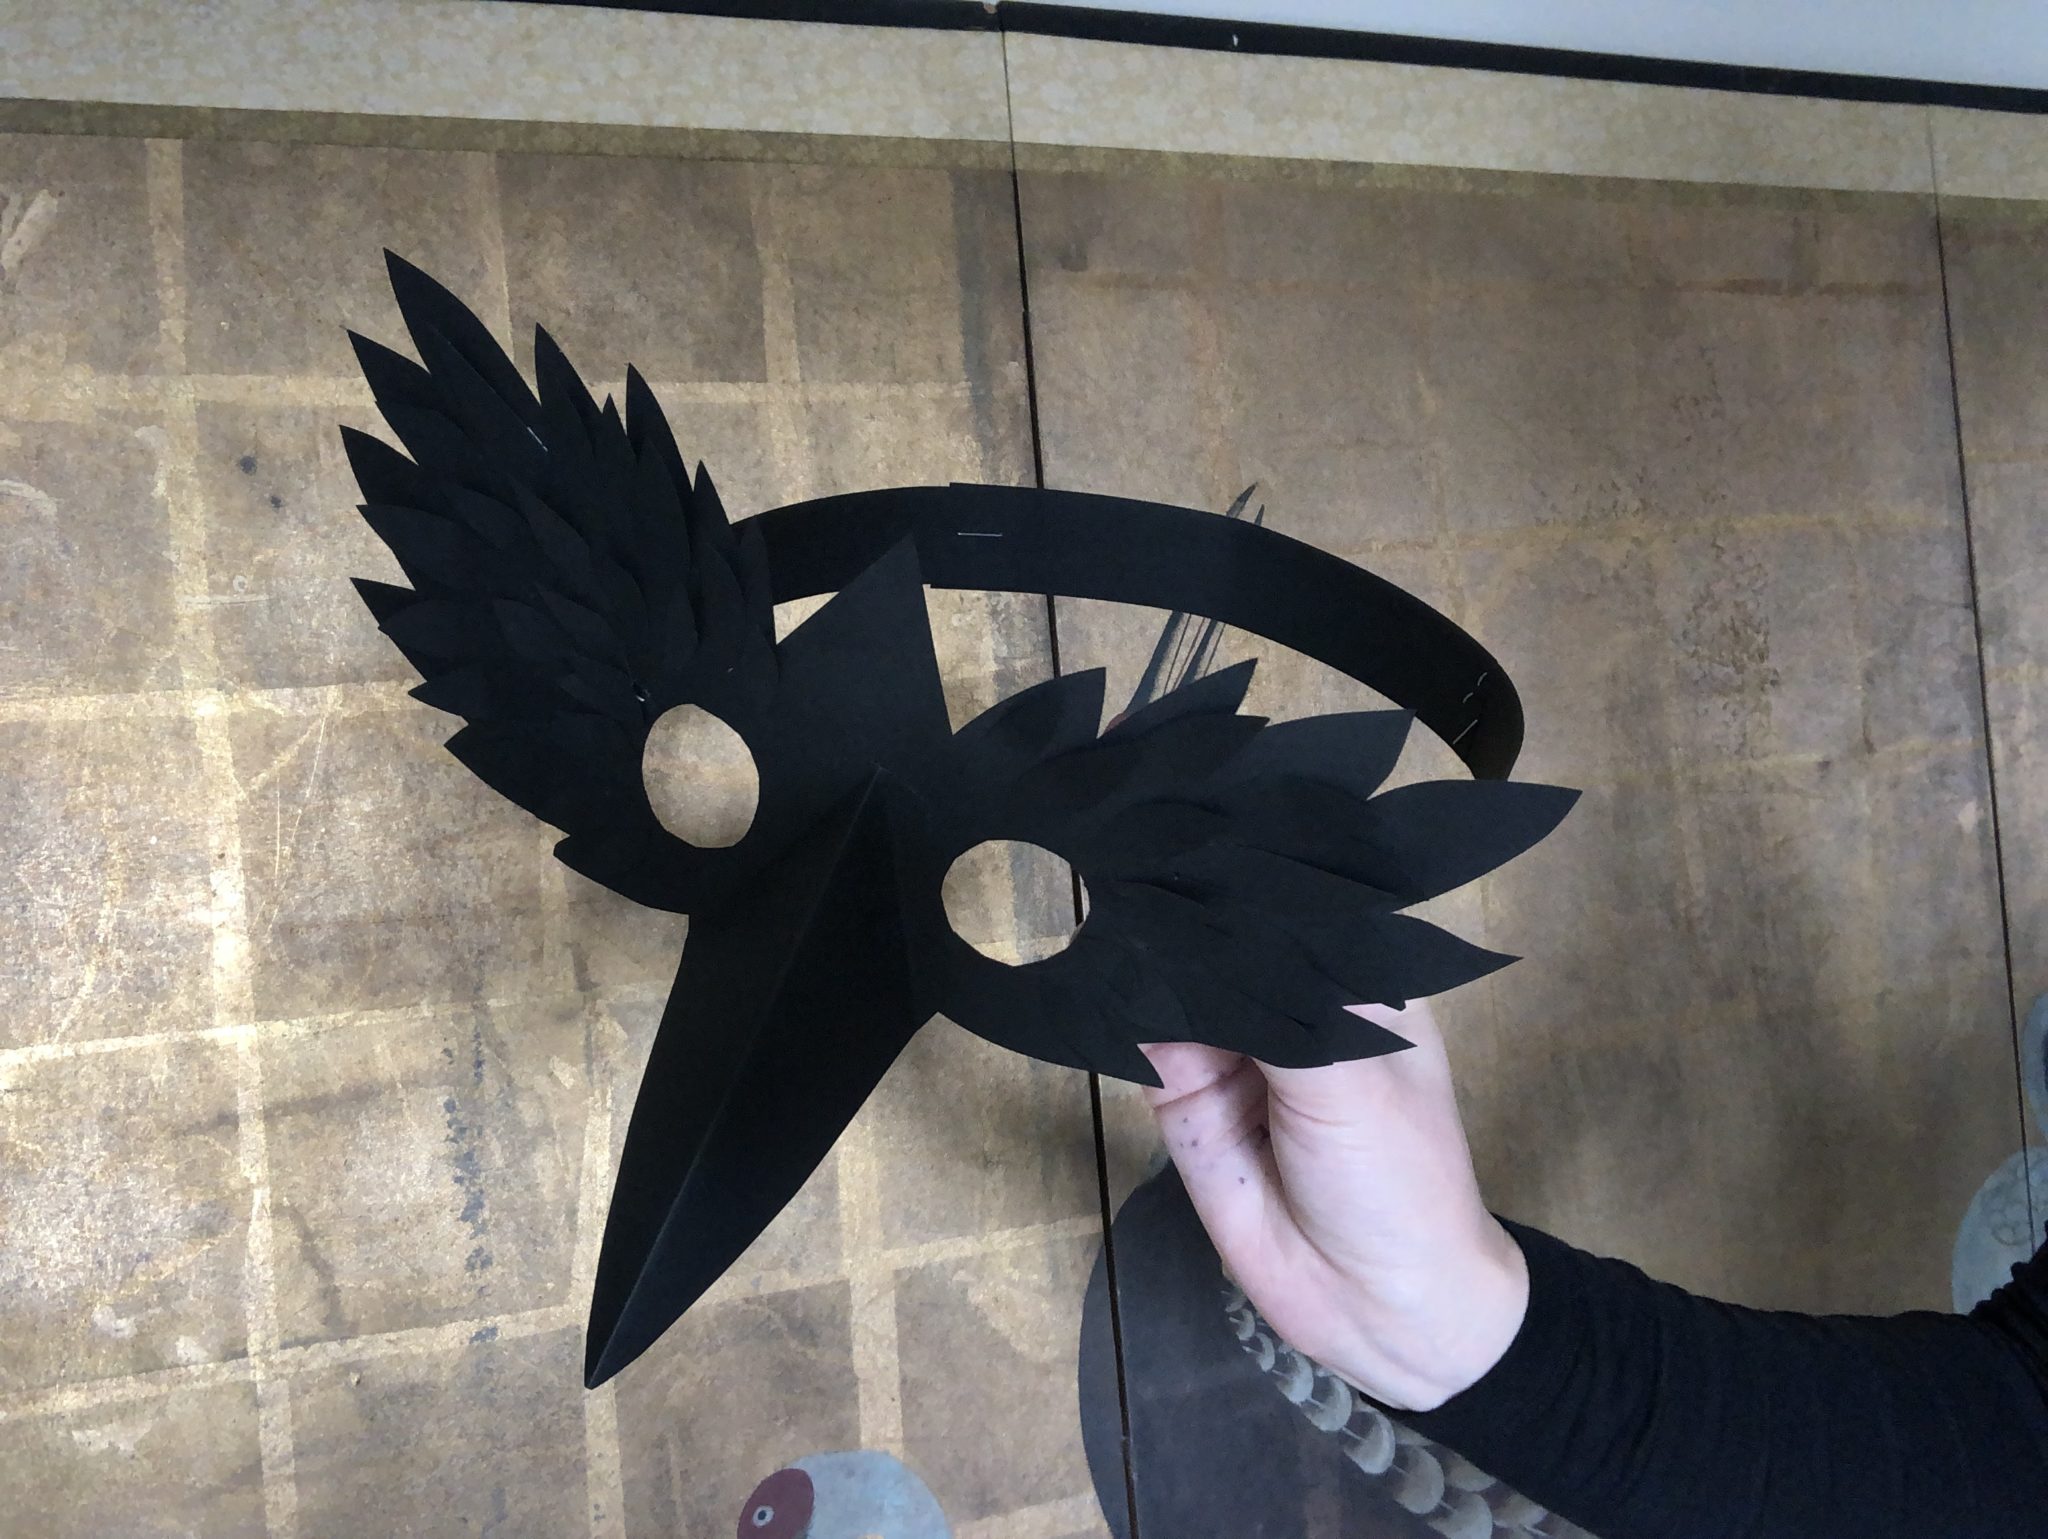
Crow Mask

Materials:
- A4 black card x 2
- Pencil
- Scissors
- Glue
- Stapler
Instructions
- Using template provided, cut out crow mask and beak stencils
- Use stencils to trace onto your black card with a pencil
- Cut out Crow wings, and beak from black card
- Cut out holes for eyes as marked on the template, or so you can see through it
- From the spare scrap card cut out feather shapes
- Stick paper feathers to your mask with glue stick
- Create headband circlet to fit around head (around 3- 4cm width) using A4 or A3 black card
- Glue and staple headband onto the back of your crow mask, beside each eye
- You’re done! Put your mask on, caw with delight, then leap to your feet and take flight!
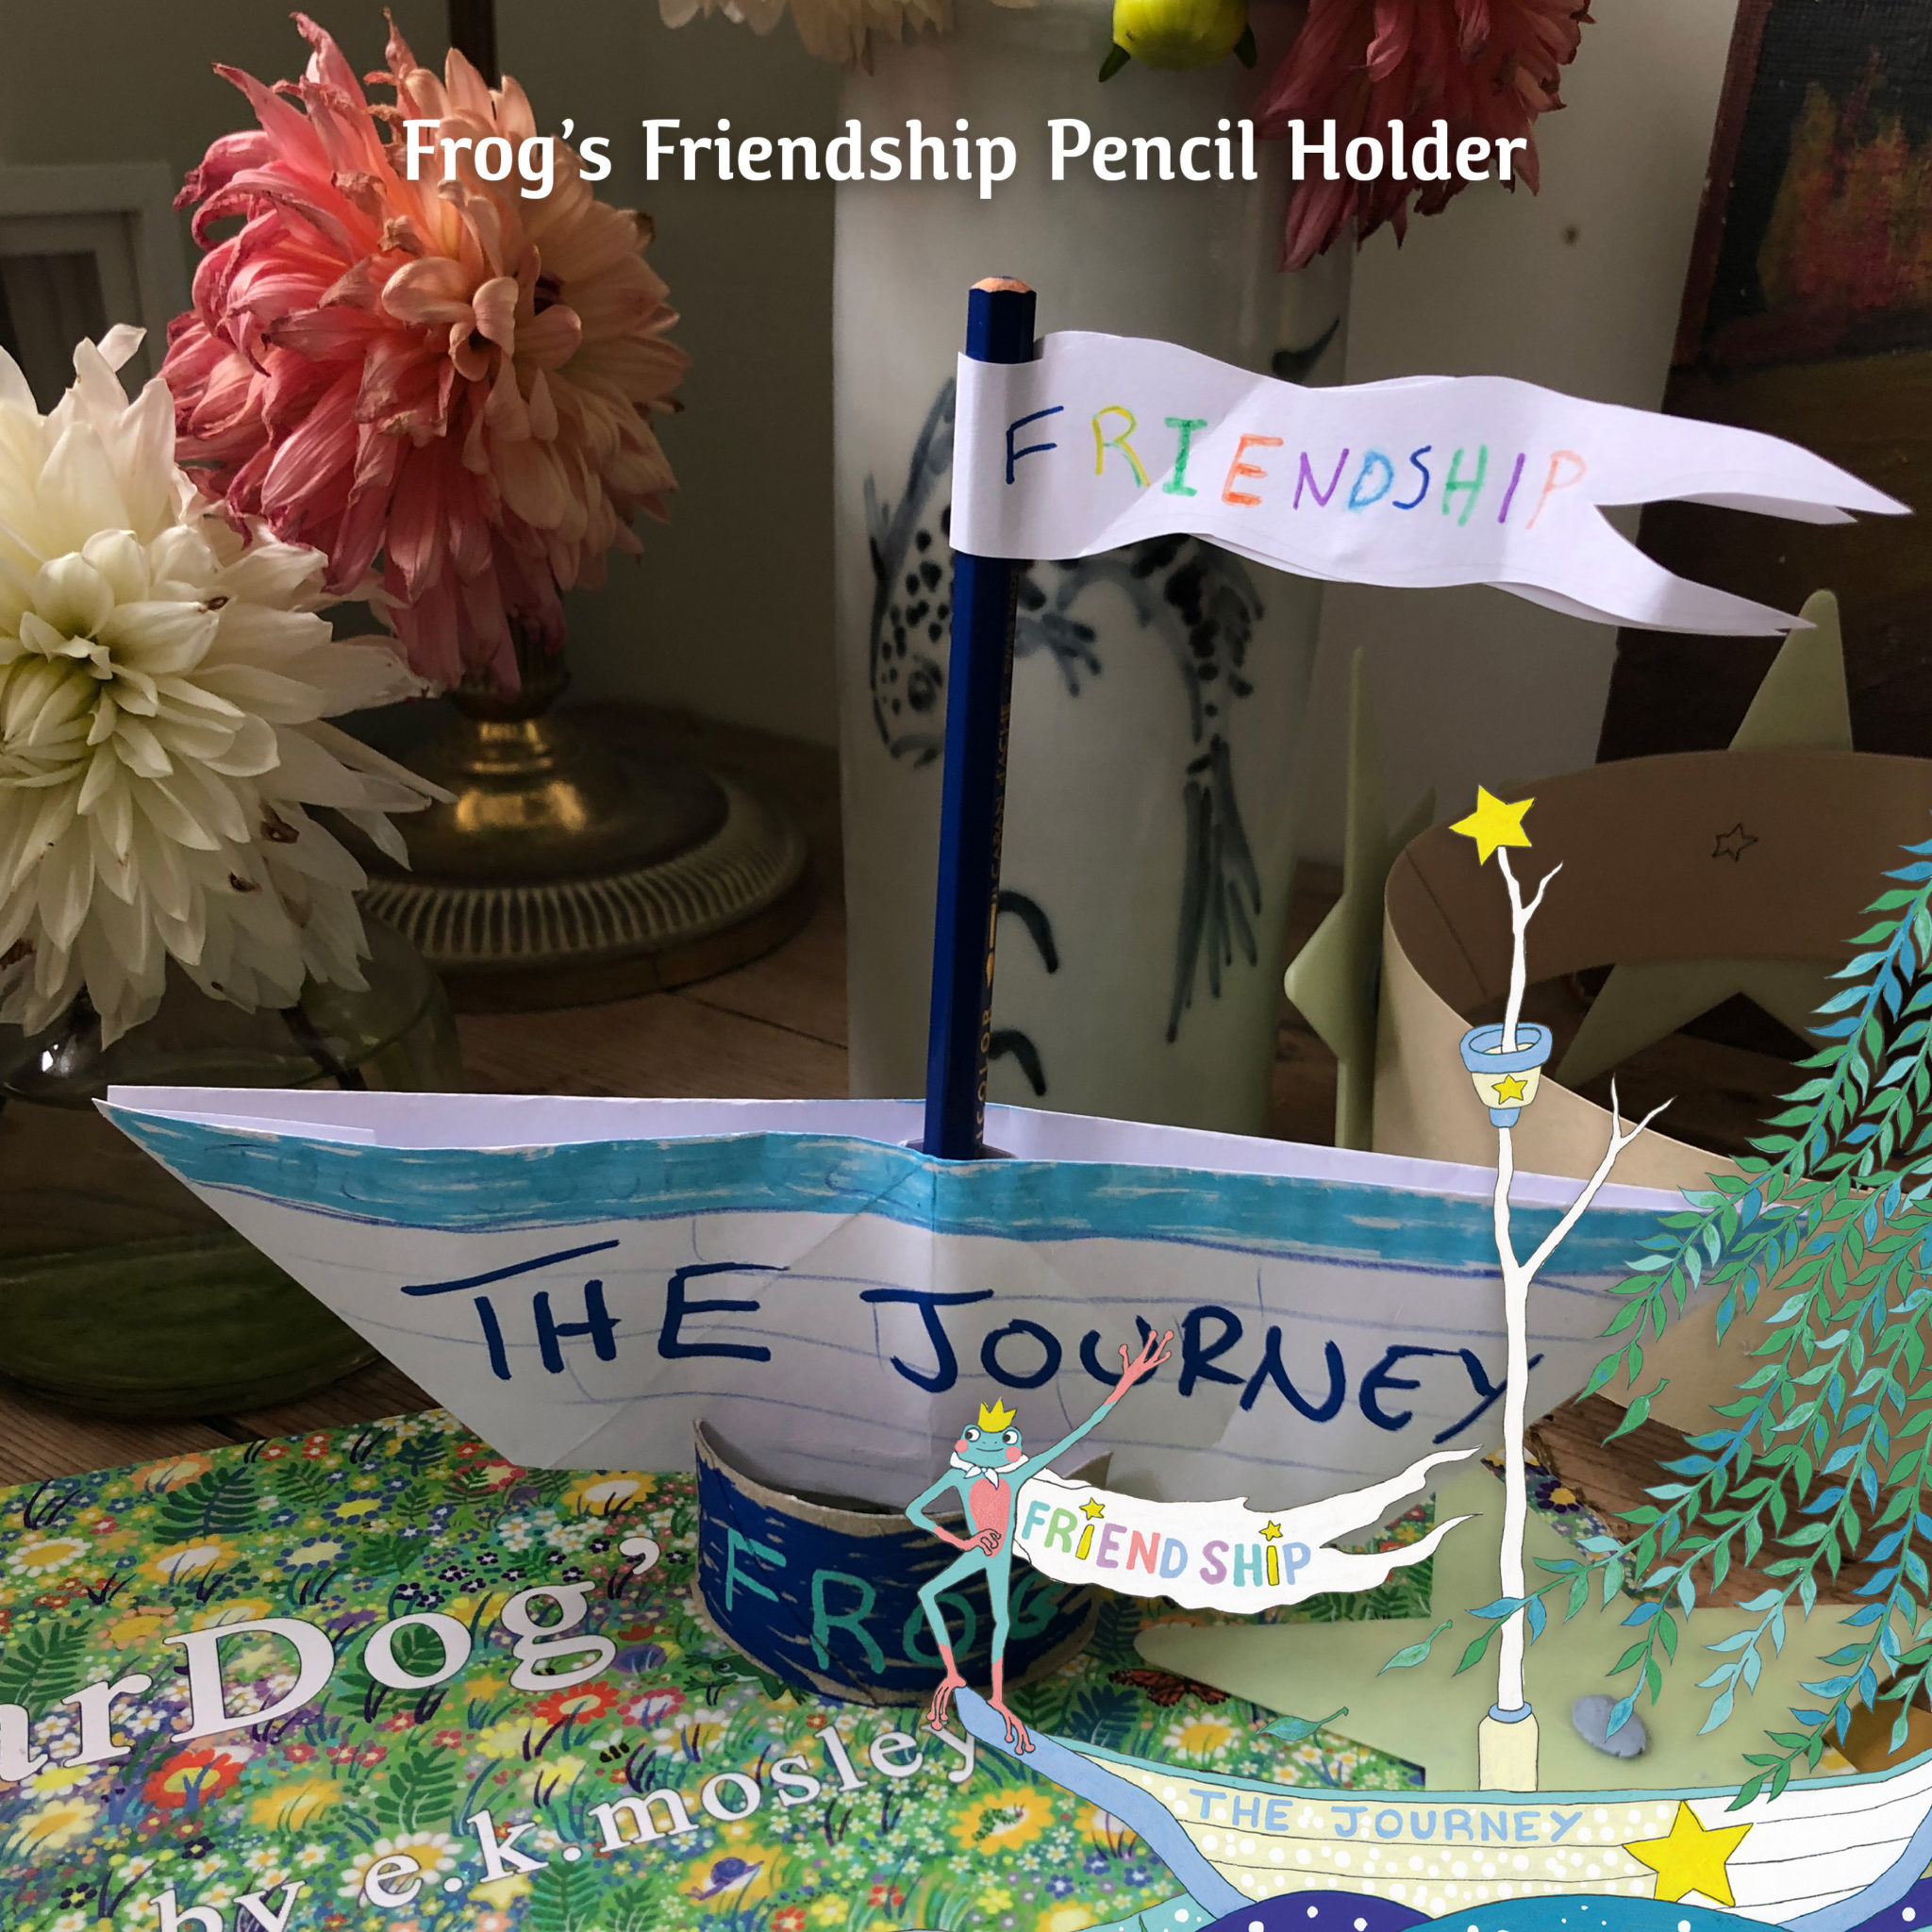
Frog Ship Pencil Holder
Materials:
- A4 paper or thin card in any colour
- Pencil
- Colour pencils/ paints/ markers
- Loo roll
- Scissors
- Glue
- Stapler
Instructions:
- Make an origami boat with your A4 paper
- Cut off the point of the origami boat to create a hole big enough to fit a pencil through.
- Give your boat a name and decorate your boat how you like
- Make a flag by folding paper in half then draw on a flag freehand or use template.
- Cut out your flag while the paper is still folded over, so you have a flag card that open up.
- Draw on both outer sides of your flag and decorate it how you like, maybe it will be called ‘Friend Ship’ like Frog’s Ship in the story?
- Then, like a pencil topper, wrap the paper flag around the pencil you’ll be using as a mast for the ship and glue the two inner sides together.
- Cut the loo roll into 4 round disks and then cut two little groves across from each other, where you ship can sit.
- Decorate your loo roll piece. Maybe it will be a river or sea with blue waves and your name drawn on it? And in the water, there might be little fish or mermaids or selkies too!
- Place your origami boat into your decorated stand
- Then, pencil end first, place your pencil with its flag topper through the hole we made in the origami boat.
- You’re done! Set sail on an adventure!

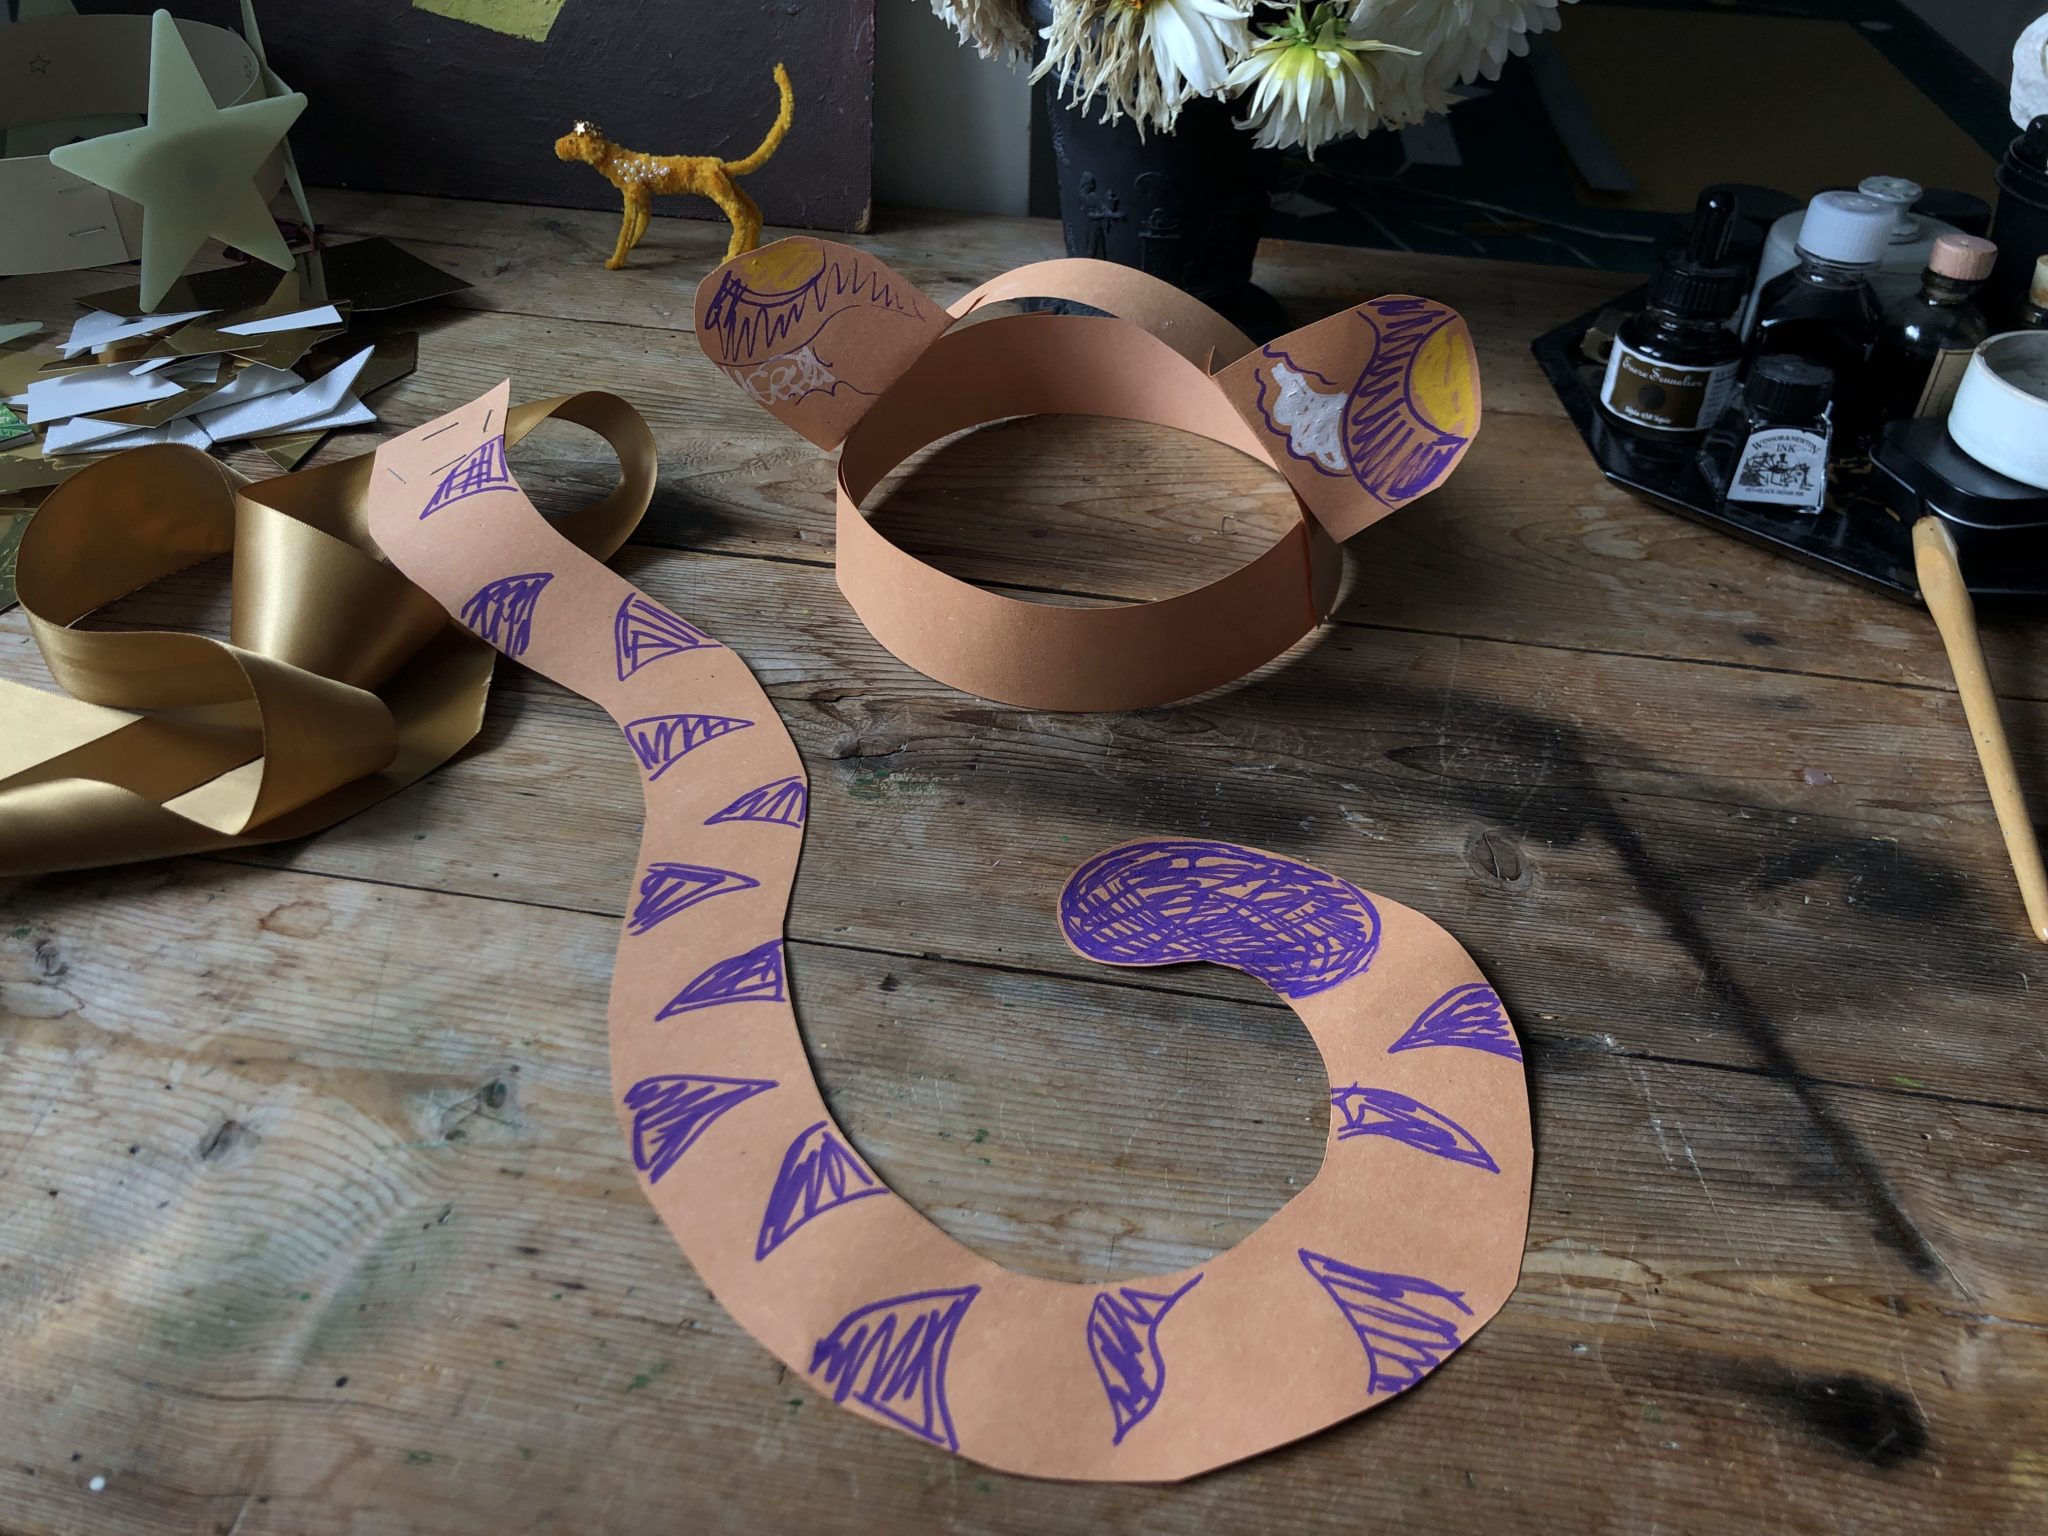
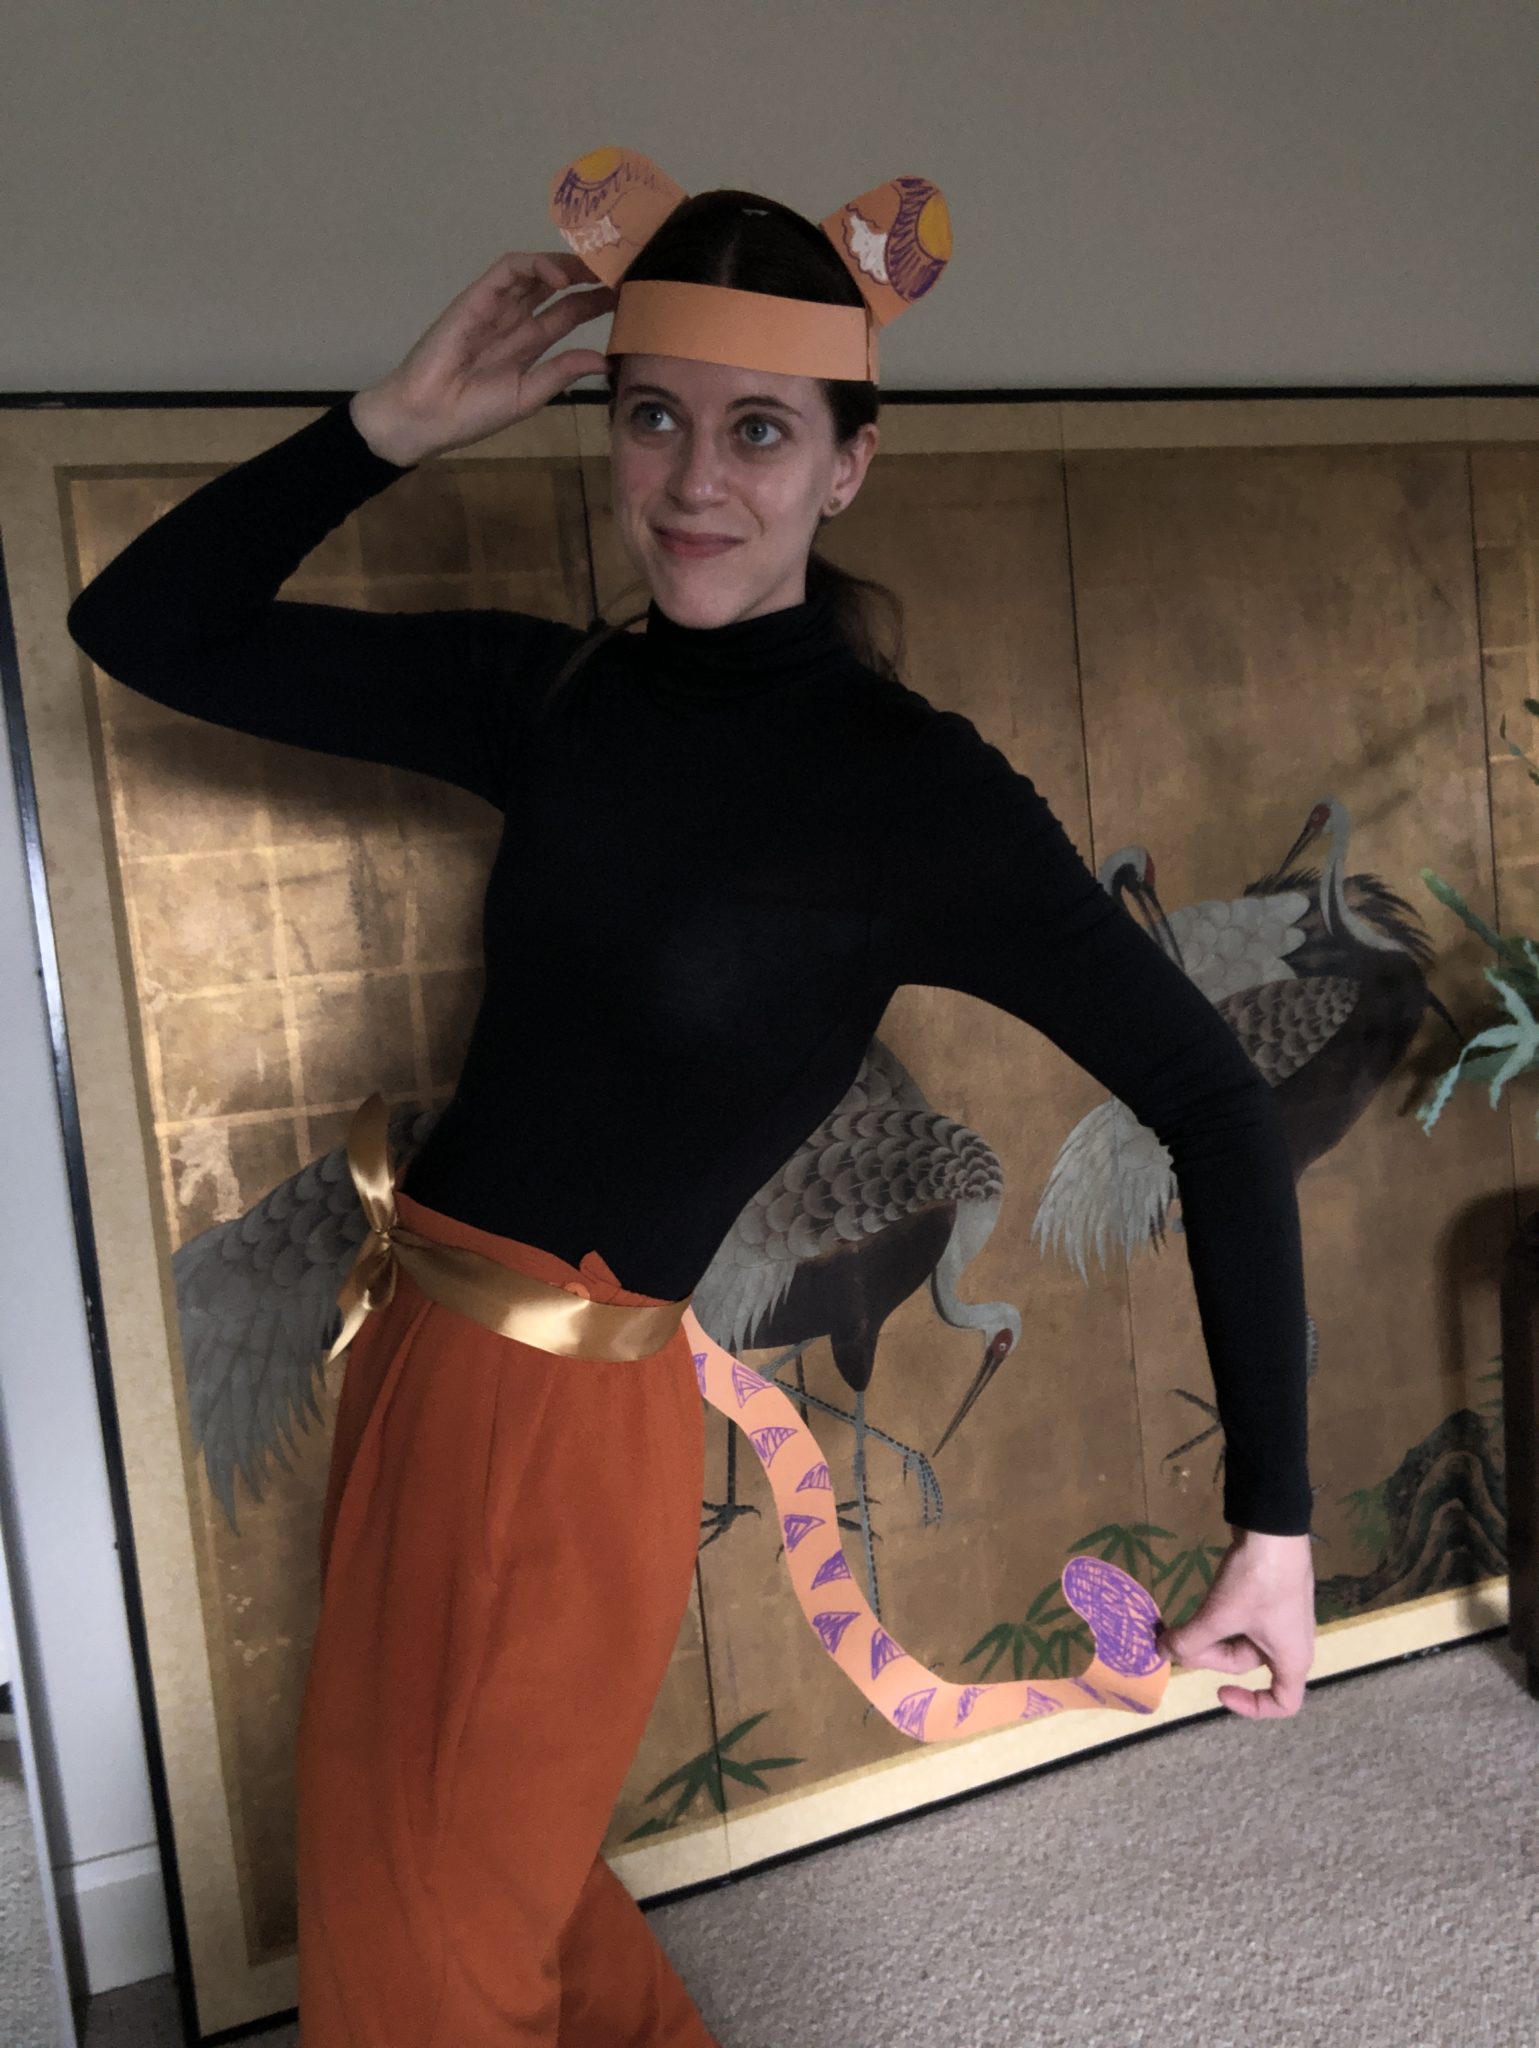
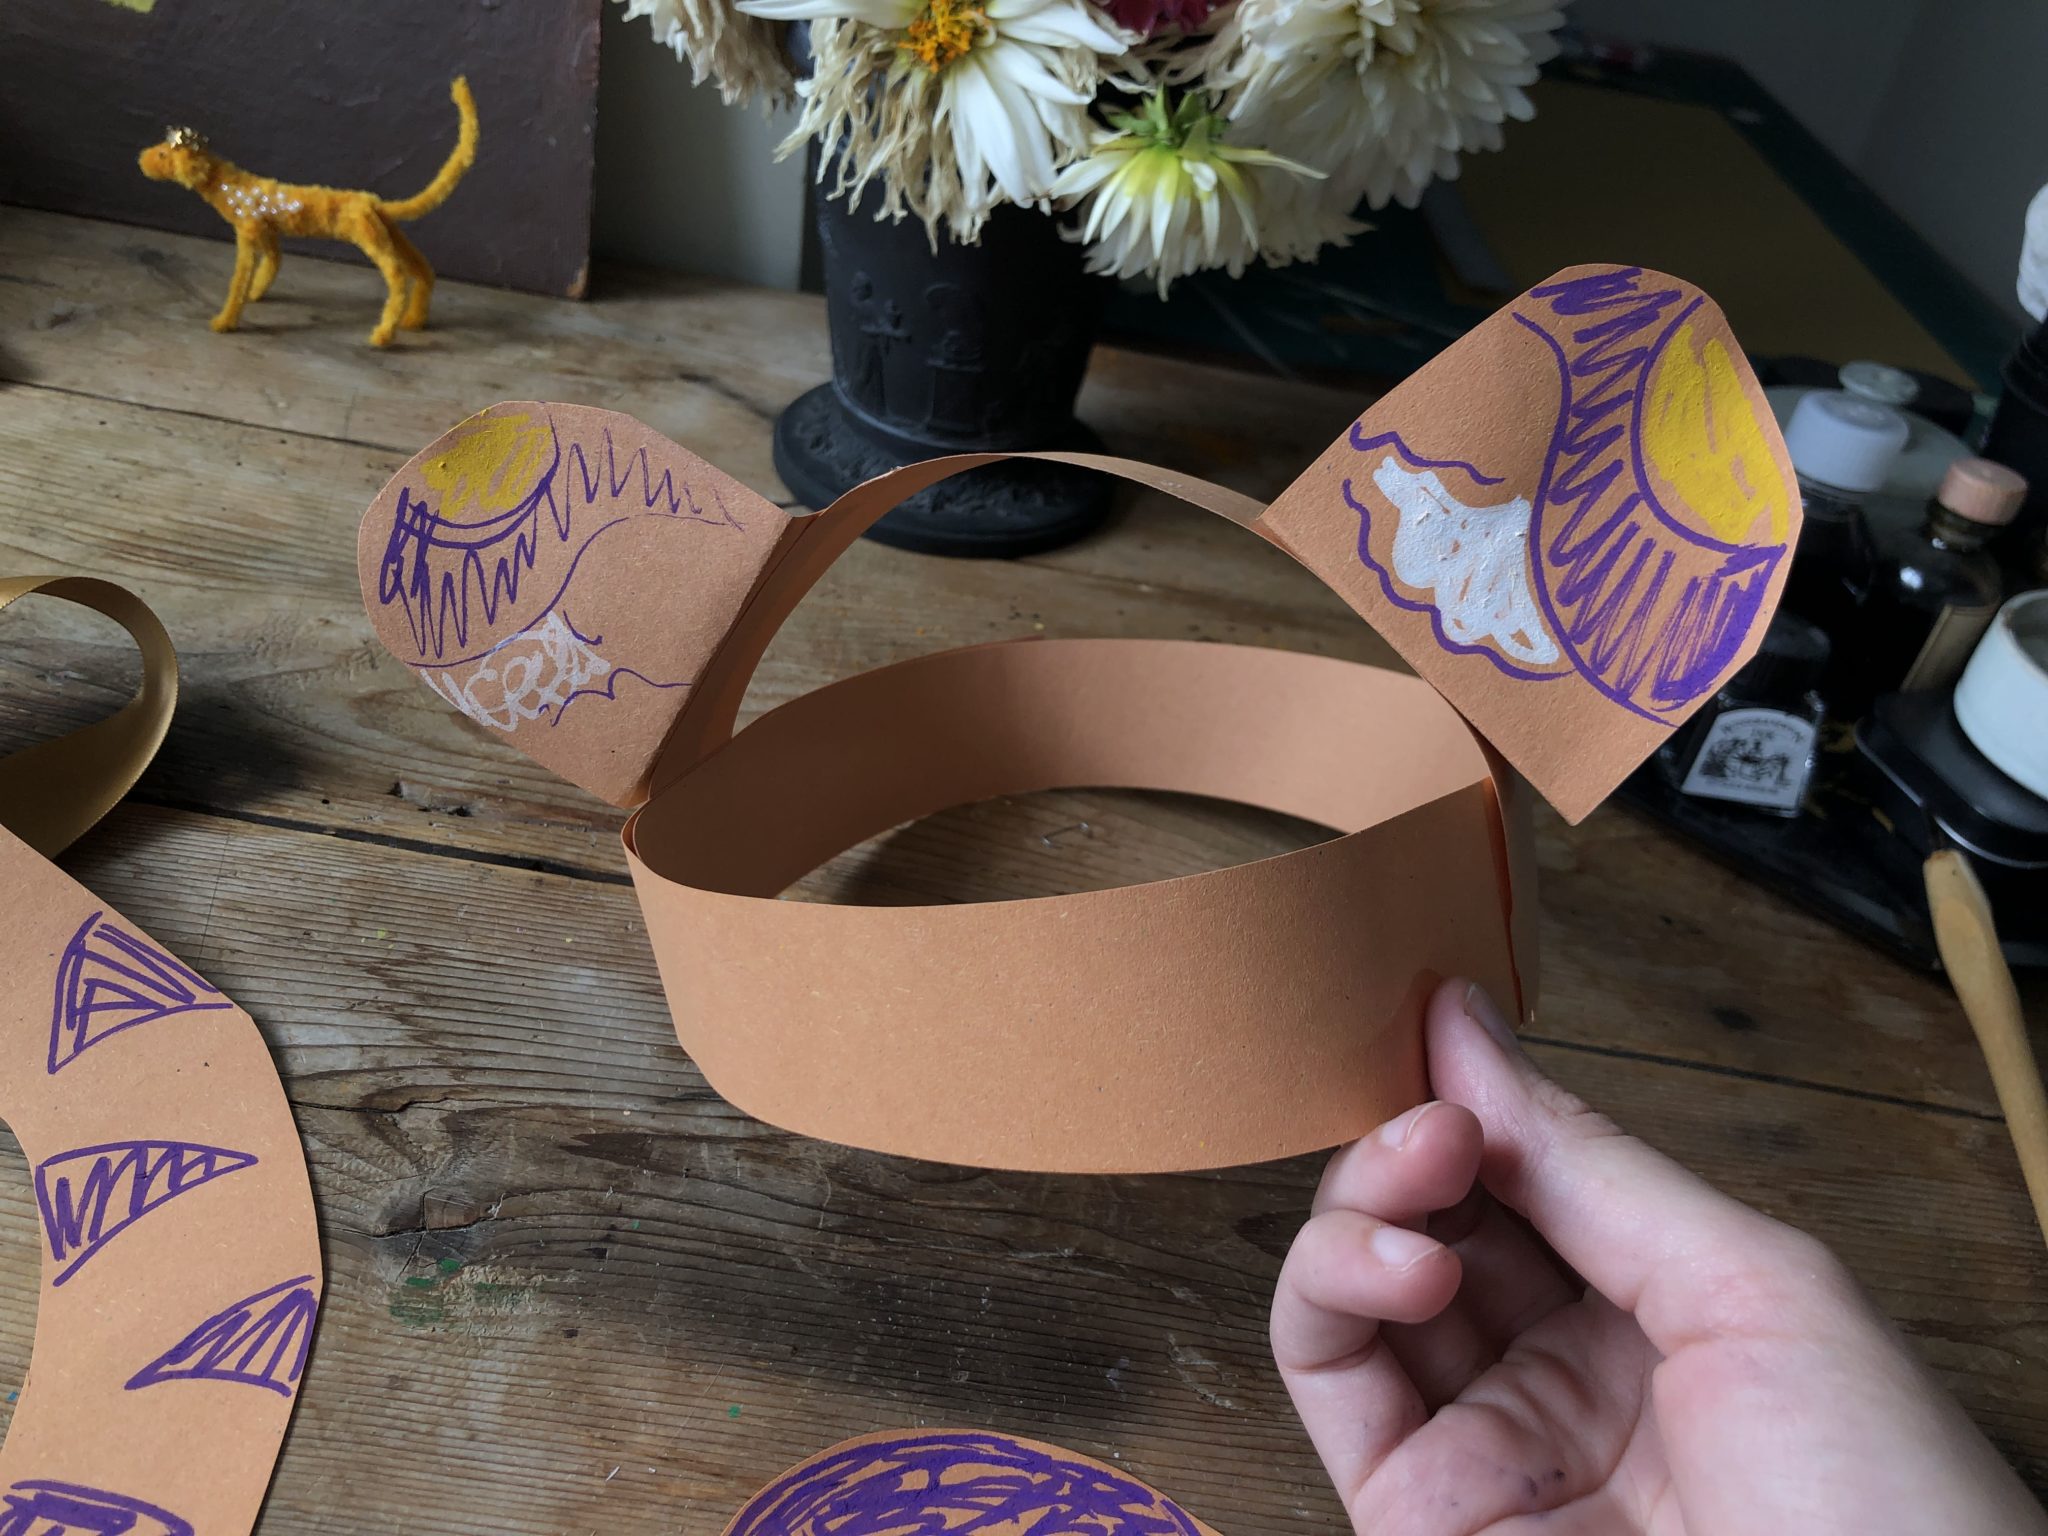
Tiger’s Tail and Ears
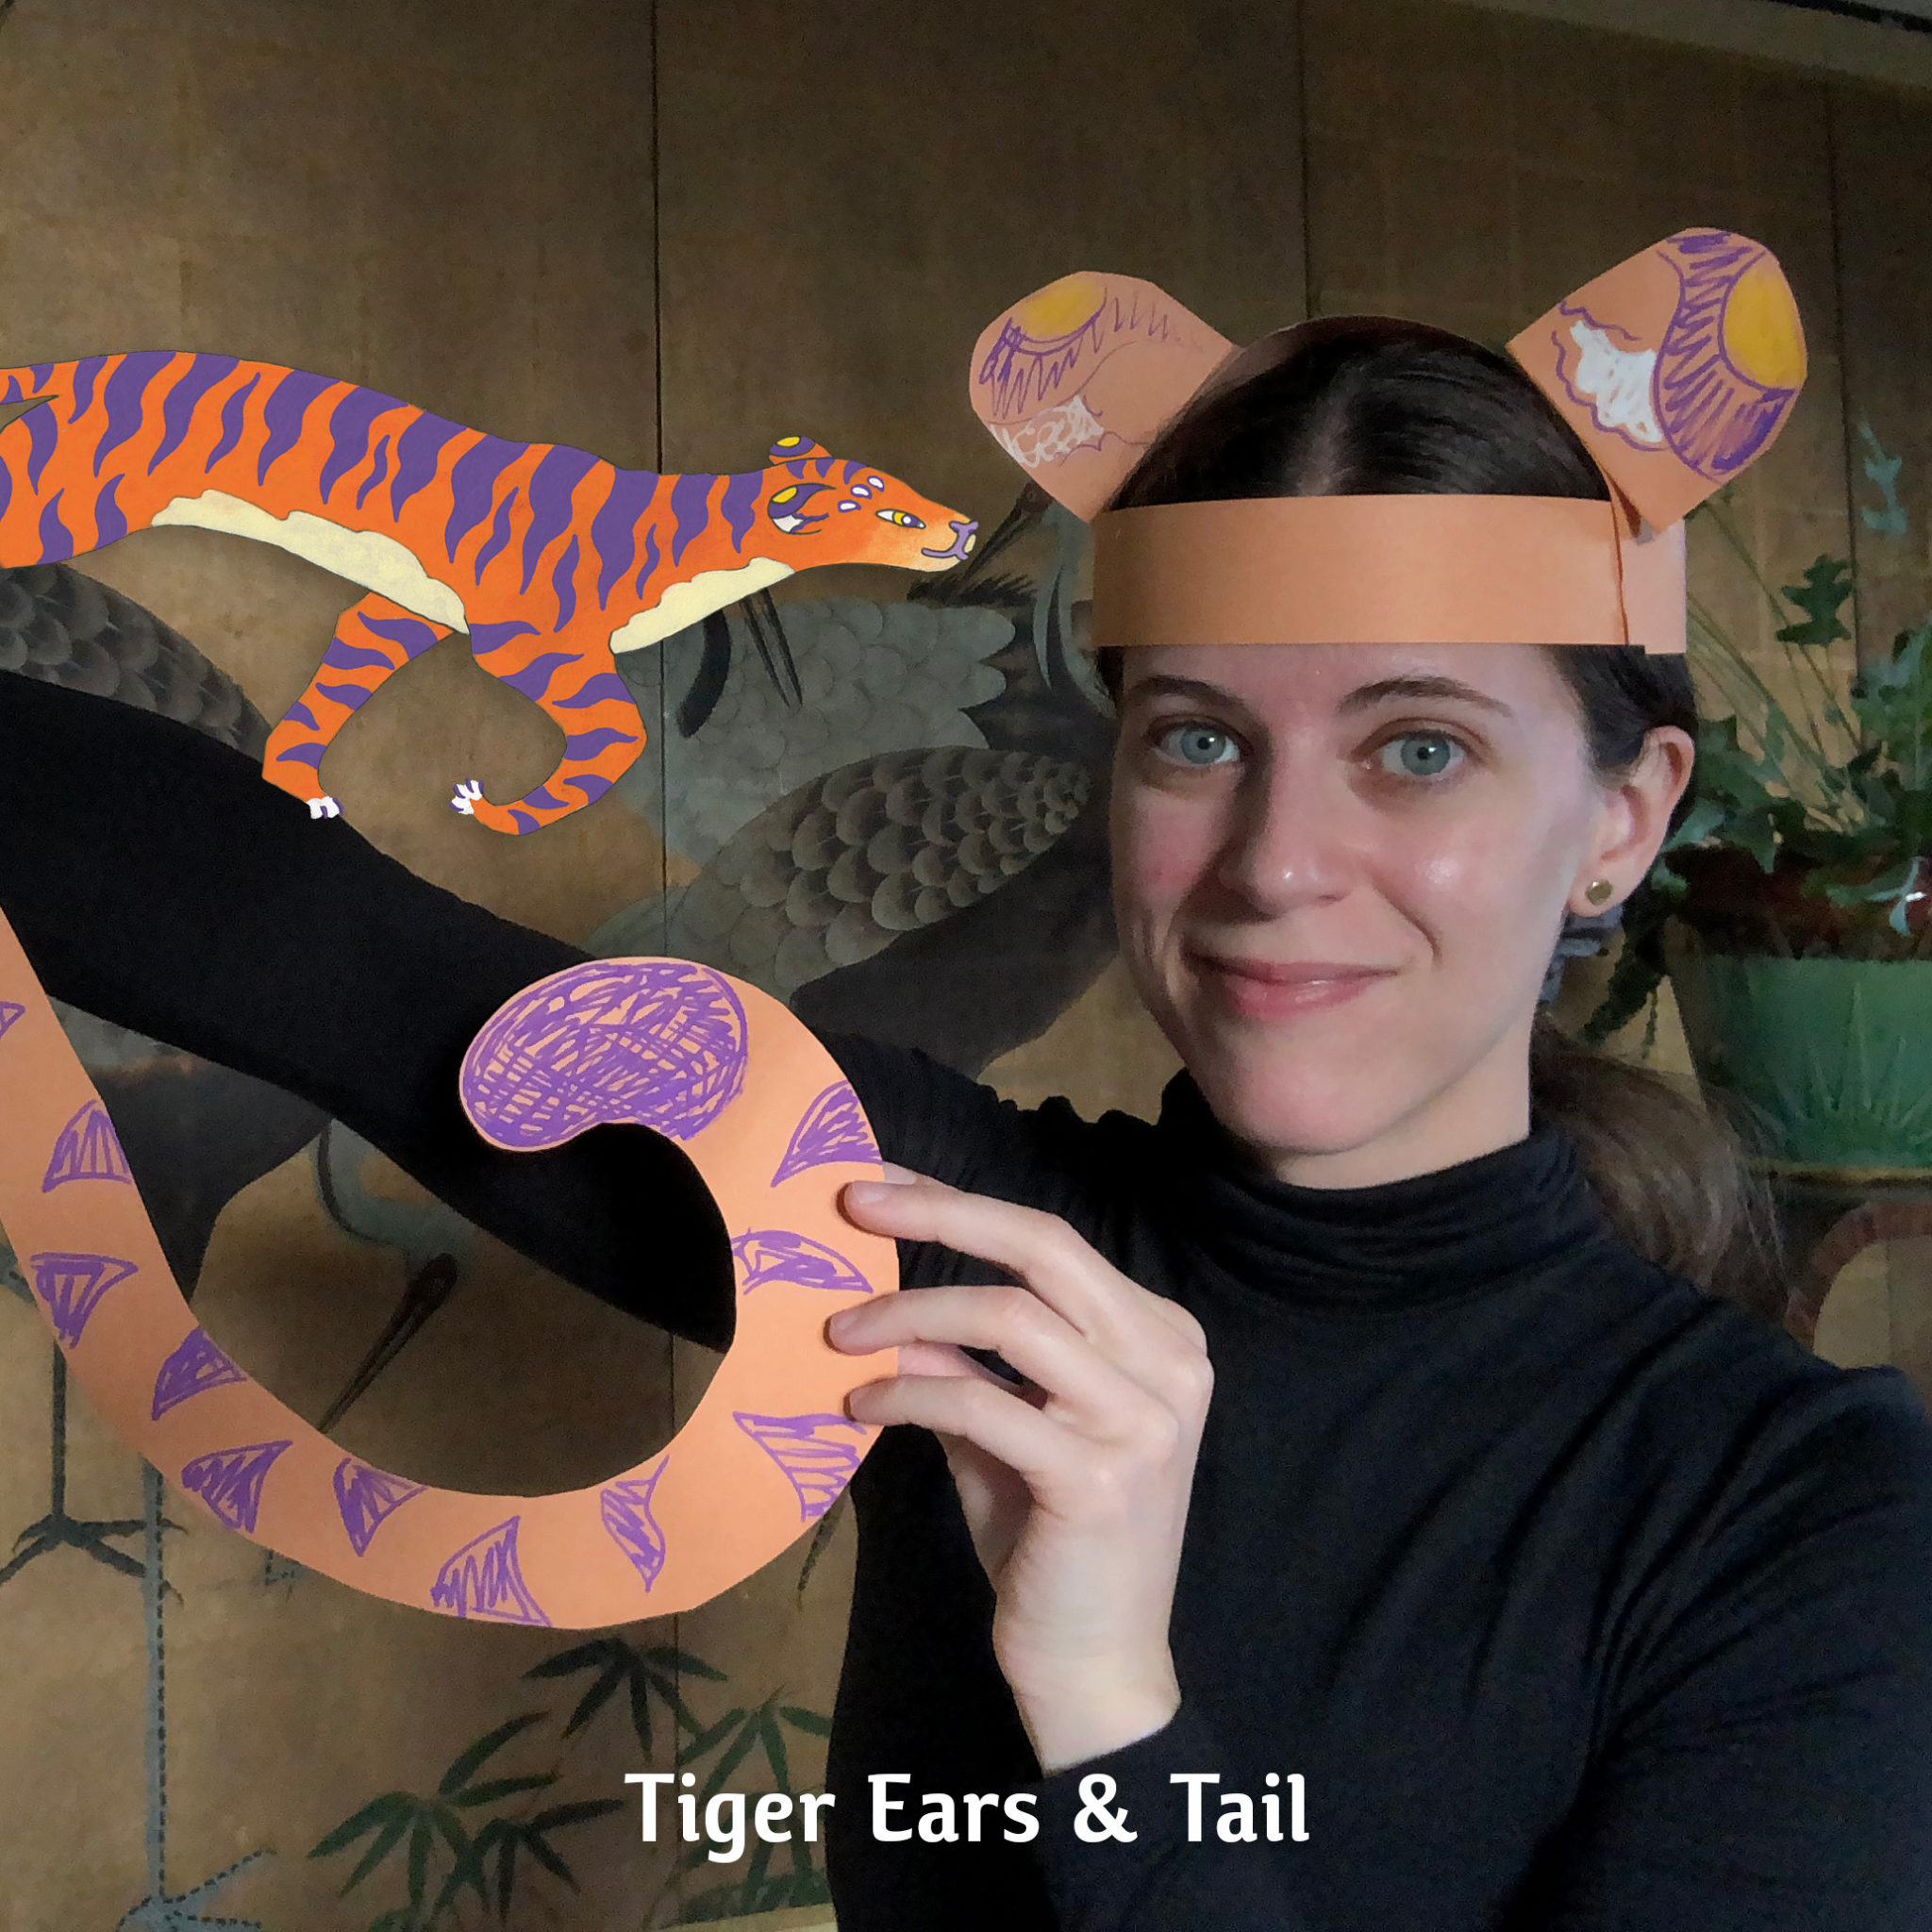
Materials:
- A4/ A3 orange card or sugar paper
- Purple colour pencils or markers (or any colour)
- 2-3 cm wide Ribbon
- Scissors
- Glue
- Stapler
- Safety pin or ribbon for attaching tail
Instructions
- Using the temple or draw free hand Tiger’s ears and Tiger’s tail onto A3 card/ sugar paper (or glue together 2 x A4 card for tail)
- The draw 2-3 long 3-4cm strips of paper to make the crown/hat to put Tiger’s ears onto.
- Cut our tiger’s tail and ears and paper strips
- Decorate your tale and ears with purple stripes or any colour stripes you like.
- Measure a piece of ribbon long enough to fit around your waist, then staple Tiger’s tail to the middle of the ribbon.
- Wrap the paper strips around your head, measure with a pencil where to stick to fit your head, then glue to make a head band circlet. The staple securely in place.
- Place another strip over the top of your head to attach the ears to and stick to the headband circlet.
- Glue your decorated ears to the top paper strip of you Tiger hat.
- You’re done! Put on you Tiger ears hat, tie on your tail and let out a big ROOOAAR!
Craft Templates
Don’t forget to tag us at @flyingeyebooks and @ekmosley.illustration with the hashtag #TheLastStardog to show us your magical creations. Happy stargazing to you! 🌟🔭
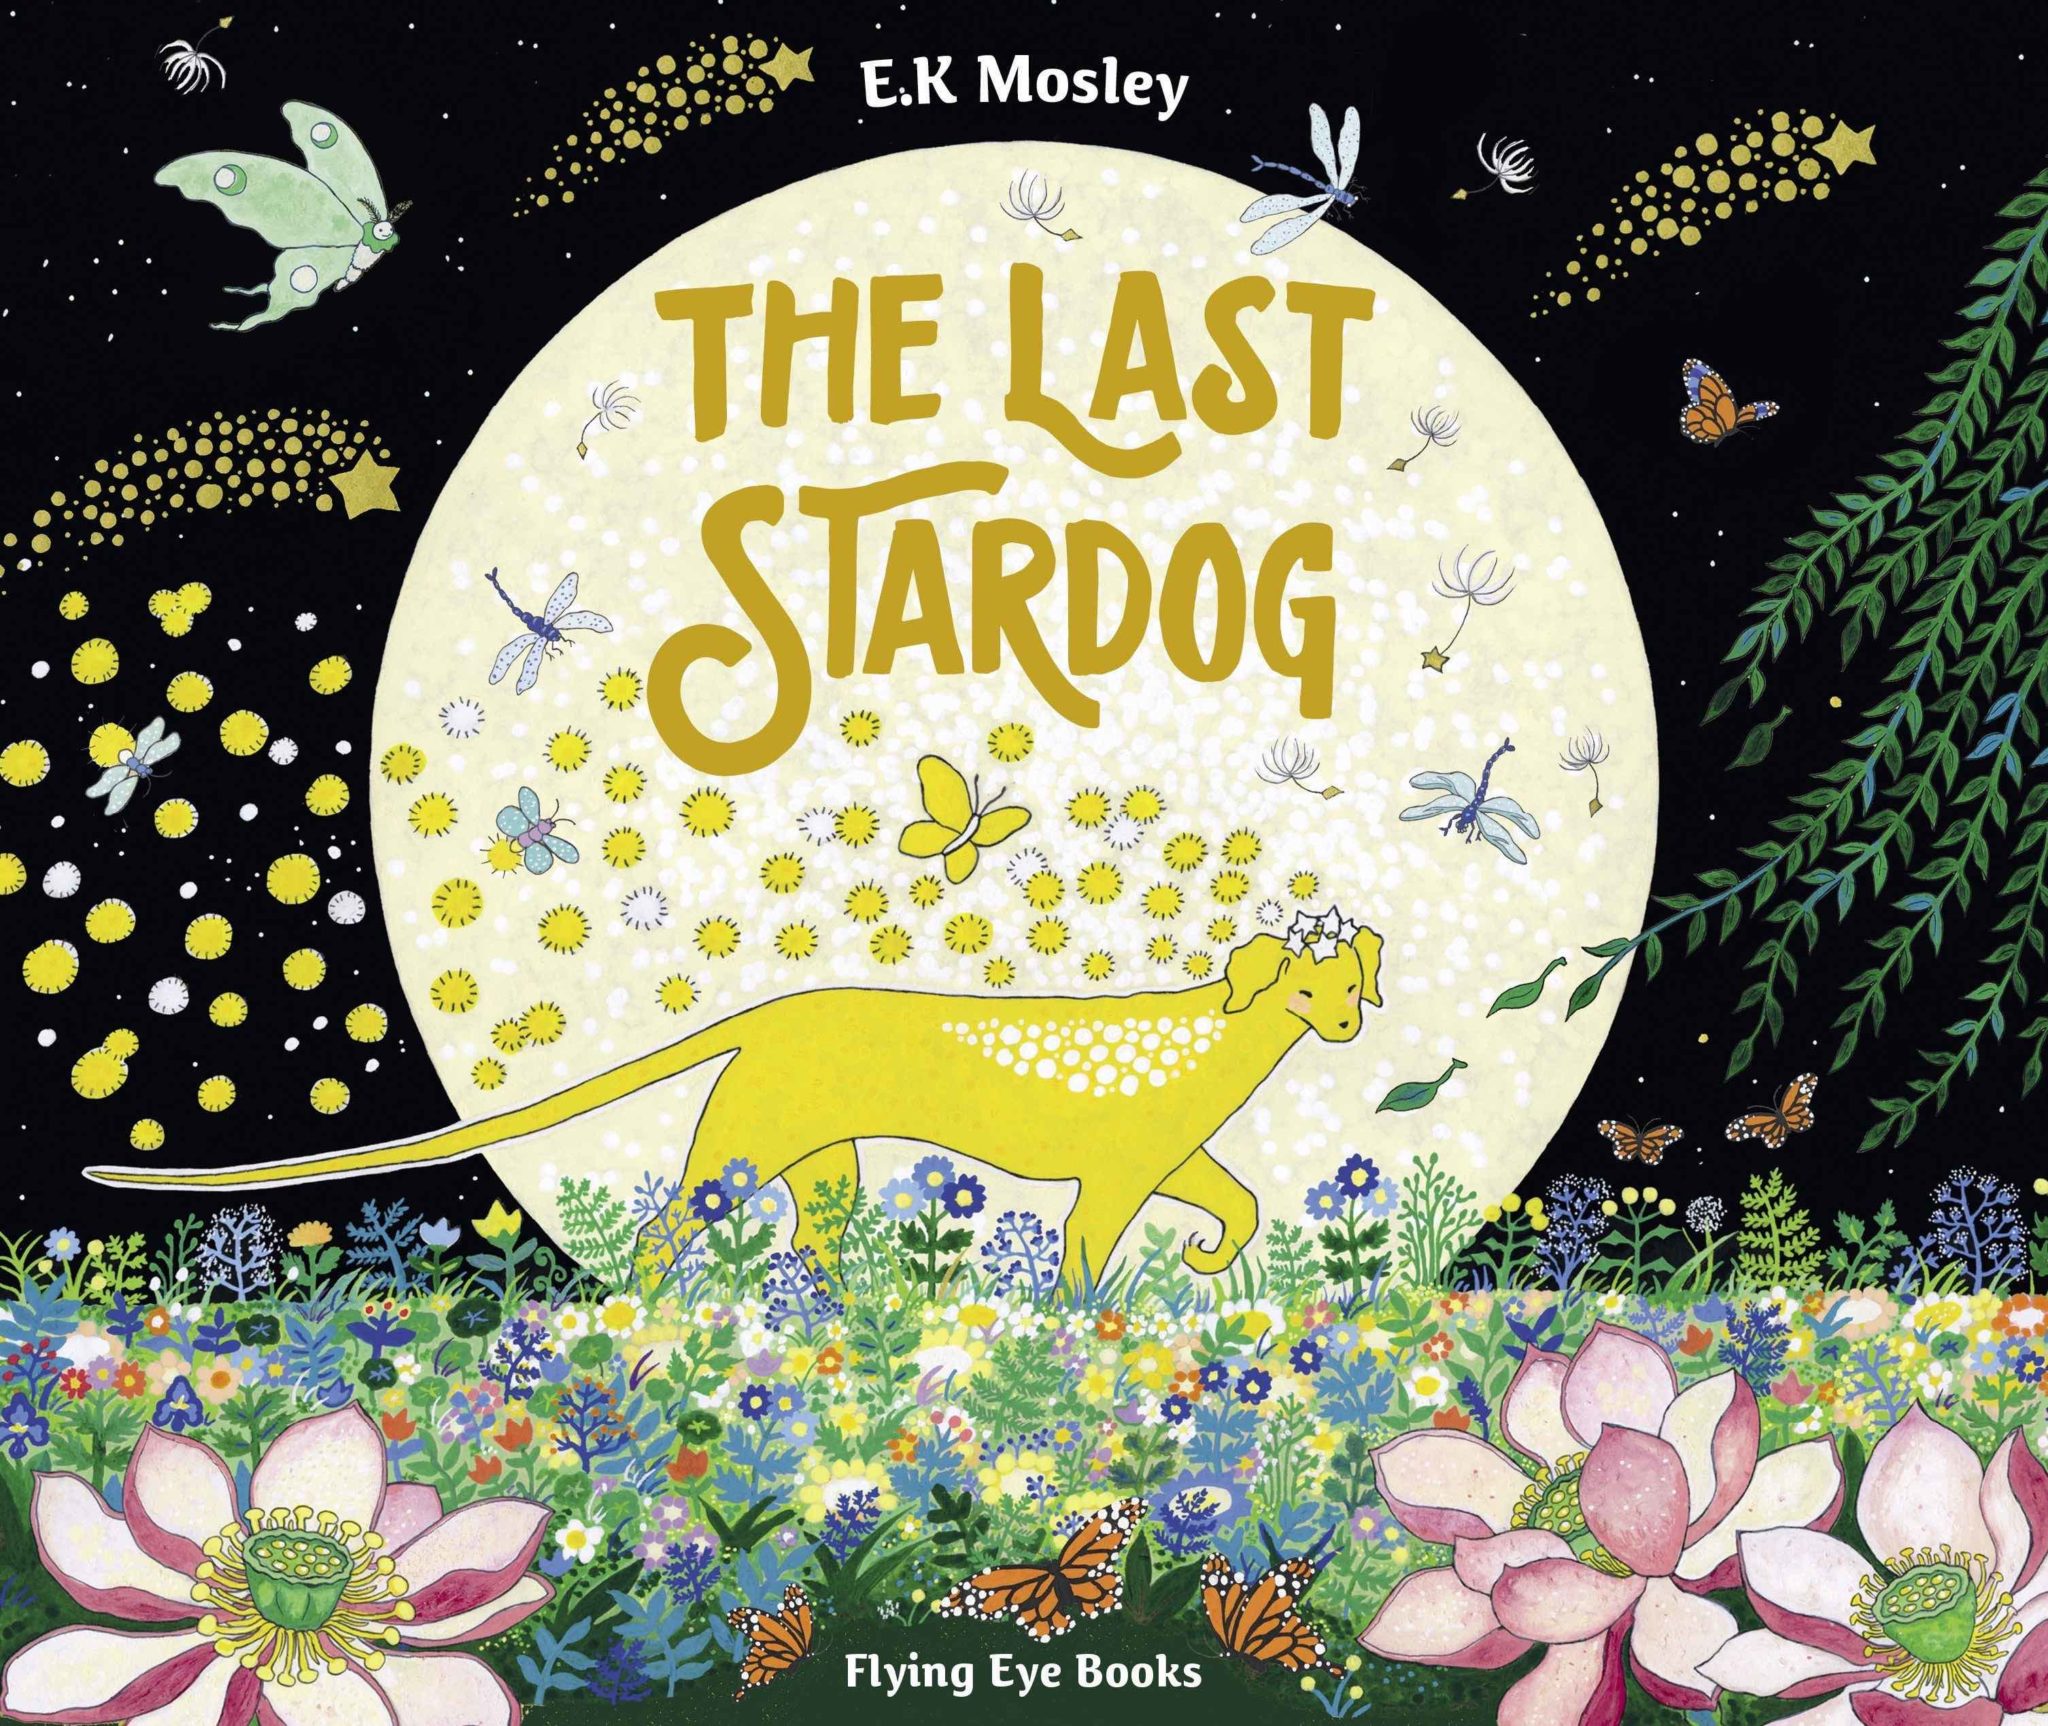
The Last Stardog by E.K. Mosley
Enter the stunning world of the last Stardog, discover her story and the joy and strength to be found in most unlikely of friendships.
Outside of dreams, Stardog is the last of her kind. One night, heavy with loneliness Stardog falls out of the sky, down to Earth where the familiar falls away and the unknown grows all around. Too heavy to fly home, Stardog sets out on a journey to fulfil her dream – to find others like her. But along the way Stardog realises the journey is no easy feat and dreams can change…